Crusher and Shredder Blades
Match replacement cutting tools to your machine, material and approved dimensions. Discuss blade geometry, mounting details and the required specification before choosing a standard replacement or a custom-made set.
On This Page
Identify the Blade
State whether the part is a moving blade, fixed blade, shredder cutter or another listed cutting tool. Add the machine model and show where the part is installed.
If you are not sure of the blade name, describe where it sits and what it cuts against. The part type can then be confirmed from your photos, the part position and the machine reference.
Temporary photo Rotor or Stationary Position
Say whether the blade turns with the rotor or is fixed to the housing, as this separates moving and fixed blades.
Temporary photo Mounting Area Photo
With the machine shut down and isolated, photograph the blade seat or holder so the locating arrangement can be seen.
Temporary photo Both Faces and Edge
Photograph both faces and the cutting edge of the removed blade, showing any bevel, edge wear or chipping.
Temporary photo Existing Markings
Note any reference, marking or stamp on the blade or on the packaging from a previous order.
Check Dimensions
Provide the overall dimensions, thickness, hole positions and any locating details. A drawing is preferred when a photograph does not clearly show the mounting arrangement.
Temporary photo 01Clean the Blade
Remove debris and residue so edges, holes and locating features are clearly visible in your photos and measurements.
Temporary photo 02Measure Overall Size
Record length, width and thickness, and note where the edge is worn so wear is not mistaken for the original size.
Temporary photo 03Map the Hole Positions
Measure each hole and its distance from a chosen reference edge, noting any countersink, slot or locating pin.
Temporary photo 04Send Drawing and Photos
Combine the measurements with front, back and side photos, or attach any drawing you already hold.
A blade that only looks the same is not confirmed until its dimensions and mounting have been checked.
Confirm the Specification
Review the required material specification and any documented hardness or treatment requirement. A replacement should be discussed around the agreed specification rather than an unsupported longer-life claim.
- Material specification from your drawing or previous order
- Hardness or treatment values stated on your existing documents
- The material your machine cuts and its condition
- Typical running pattern between blade changes
- Wear pattern seen on the old blade
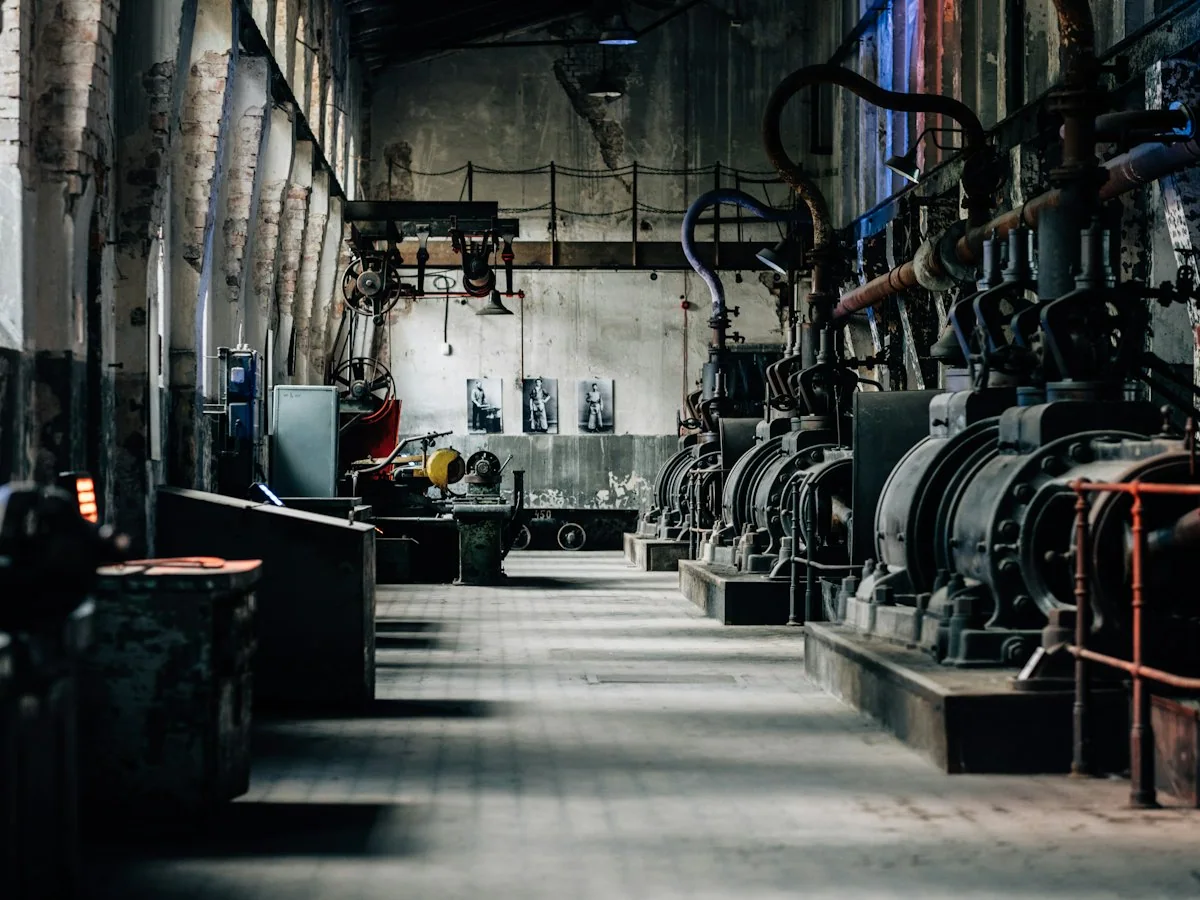
Treat material and hardness as agreed specification values, not as a promise of longer service life.
Geometry First
Check the cutting profile, length, width, thickness and mounting pattern together. A similar outline does not establish interchangeability.
Application Match
Material grade and hardness are specification choices, not a universal better-or-worse ranking. Discuss them with the machine duty and material being cut.
Set Requirements
State whether the request is for one tool, a matching rotor set, stationary knives or another defined assembly. Keep each reference and quantity clear.
Browse Listed Blades
Open the listed blade or cutter records to review their references, dimensions and confirmed equipment connections. Different sizes within a genuine series can be shown in a specification table.
Tool
Check whether the record is a moving blade, fixed blade, cutter or another tool, so it matches the position of your part.
Dimensions
Compare the listed dimensions with your drawing or measurements, using unworn faces of the old blade where possible.
Mounting
Check the hole pattern, slots and locating features, since these decide whether the blade seats correctly in your machine.
Specification
Review the stated material and any treatment values against your documented requirement, rather than assuming one grade suits every duty.
Verified Machine
Find your machine among the confirmed connections; if it is absent, send the model and part details for a specific review.
Request a Part Quote
Not sure a listed blade matches yours? Send the machine model, measurements and blade photos for review.
Approve the Match
Confirm the drawing or part reference, quantity and matched set requirements before production or dispatch. Compatibility with another machine must be confirmed for that specific part.
The same steps apply to a blade for another brand or an older machine, and compatibility is confirmed only for the specific part reviewed.
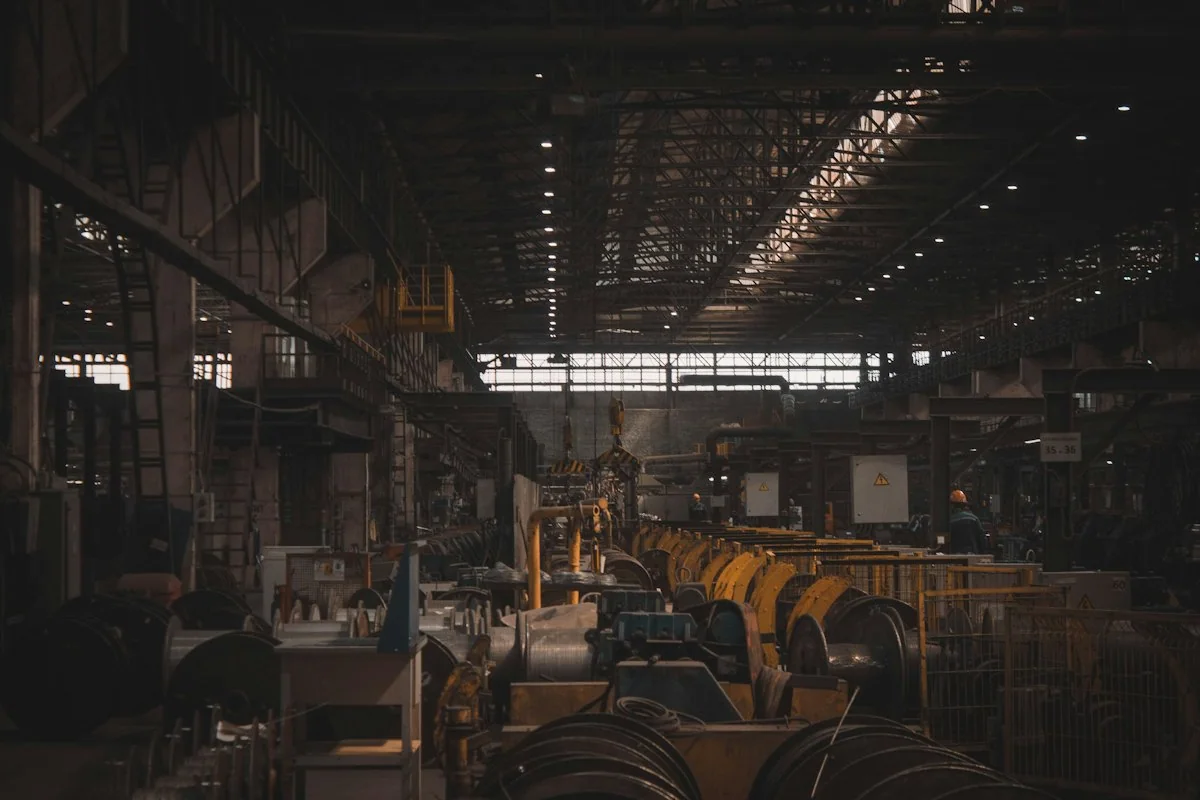
Temporary photo 01Identify
Establish the blade type, position and machine model from your photos, references and measurements.
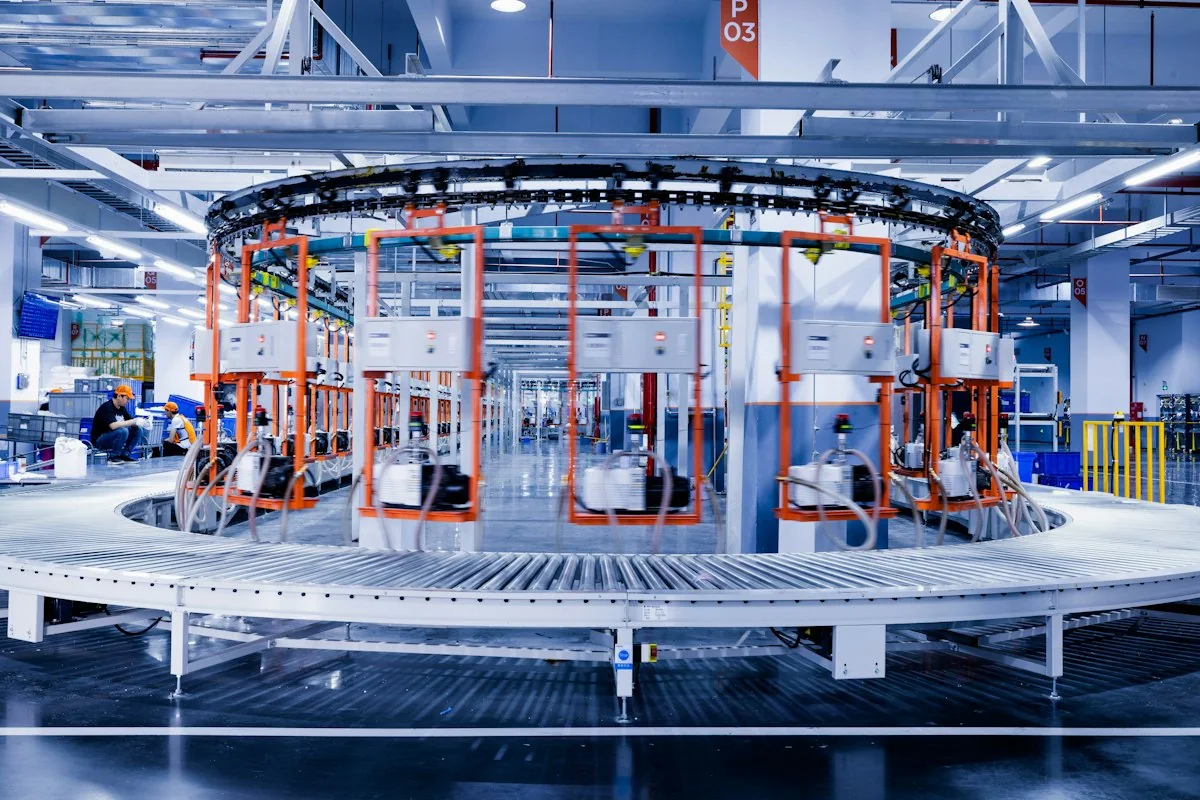
Temporary photo 02Confirm
Review the proposed drawing or reference against your measurements, then approve it in writing, noting any open questions on fit.
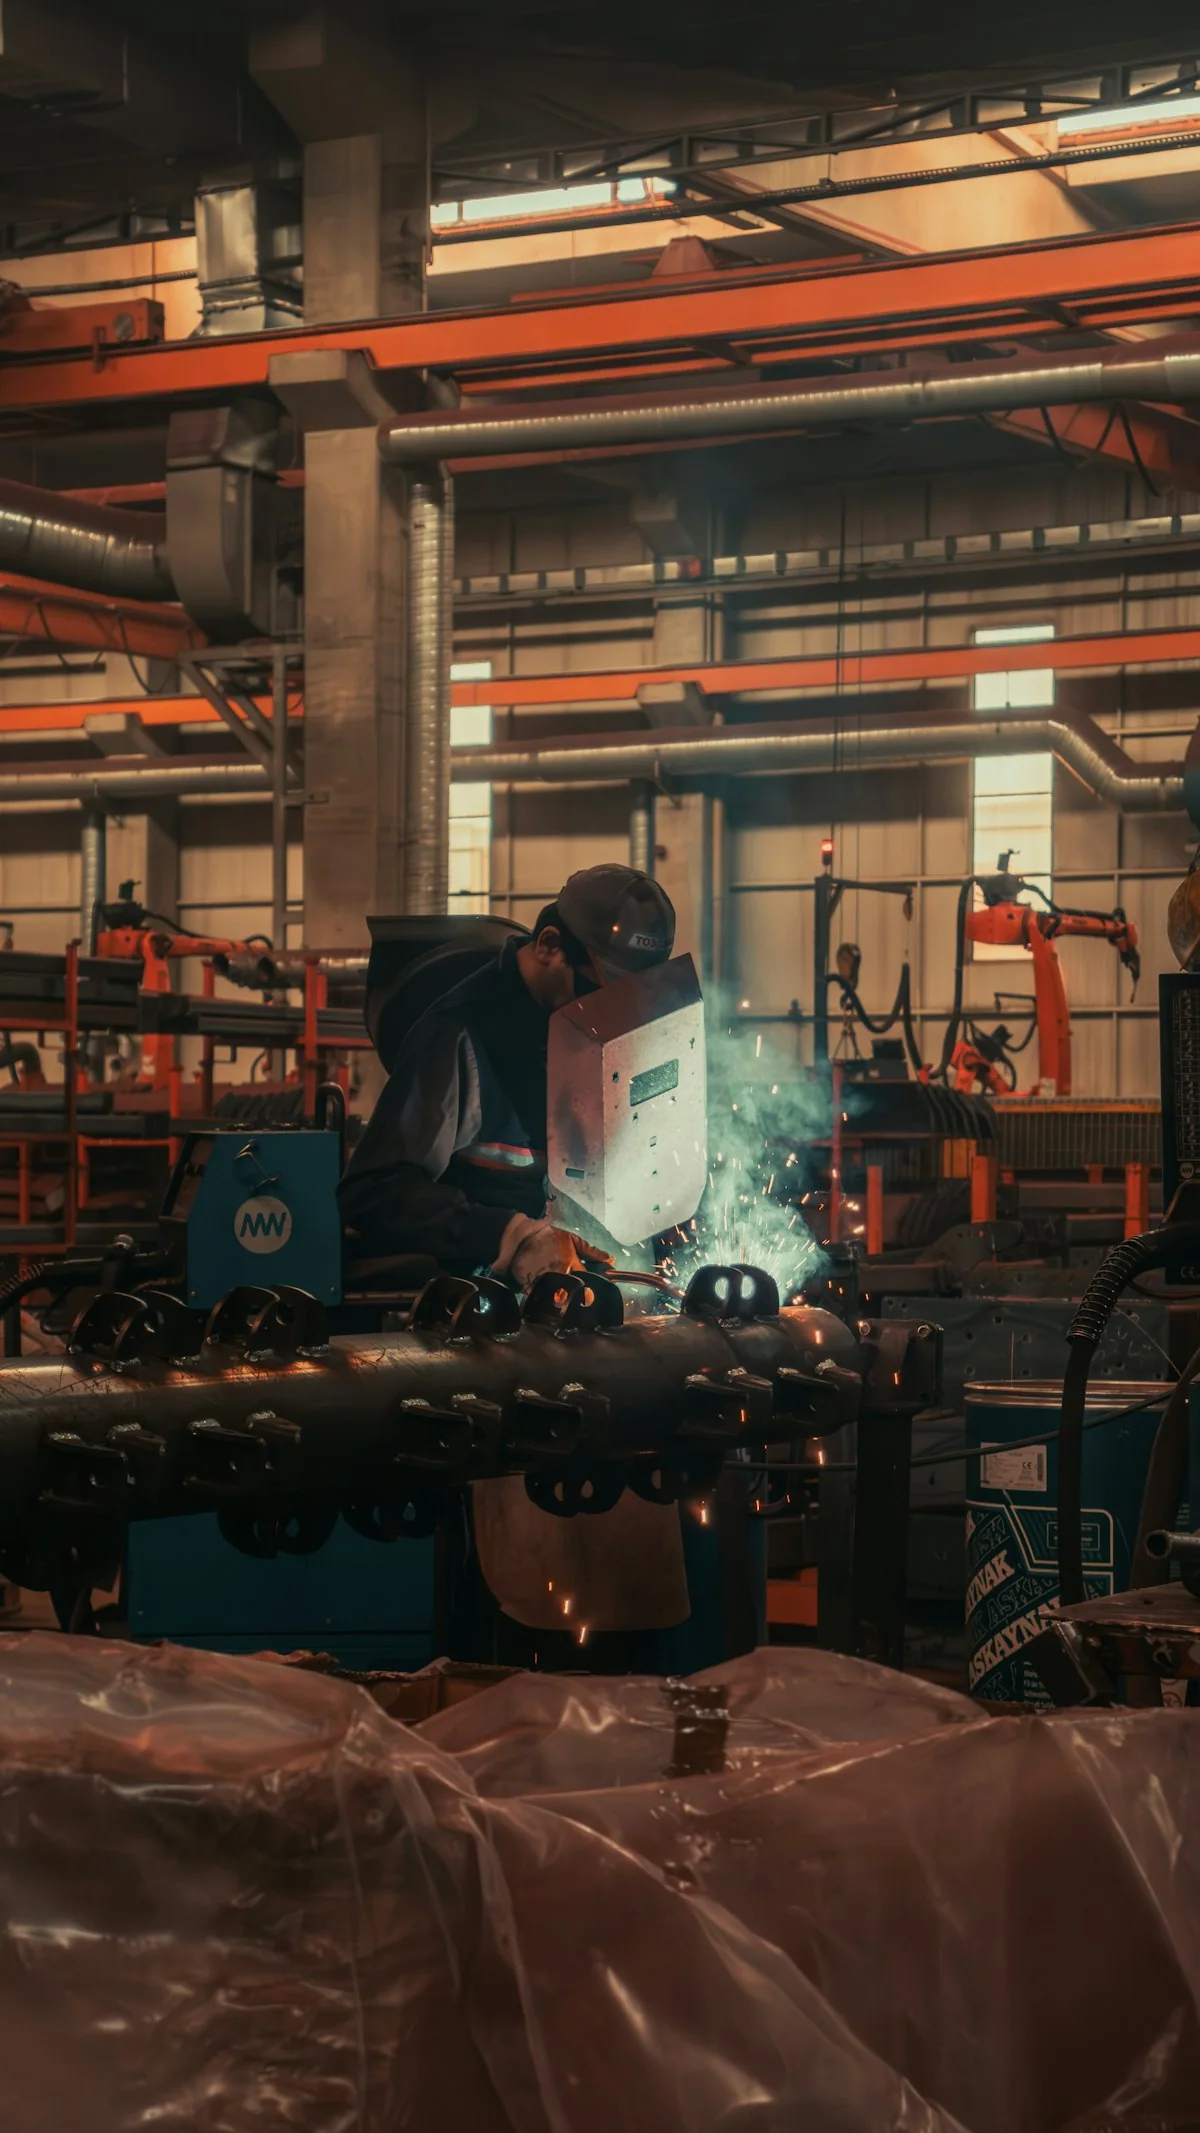
Temporary photo 03Supply
Ask for each blade or set to be labelled with the approved reference so it can be matched to your order on arrival.
- 01Identify
- 02Confirm
- 03Supply
Custom Blade Requirements
Discuss a custom blade or cutting-tool set using the required profile, mounting dimensions, material specification and quantity. A clear drawing helps keep the quotation, approved specification and supplied set aligned.
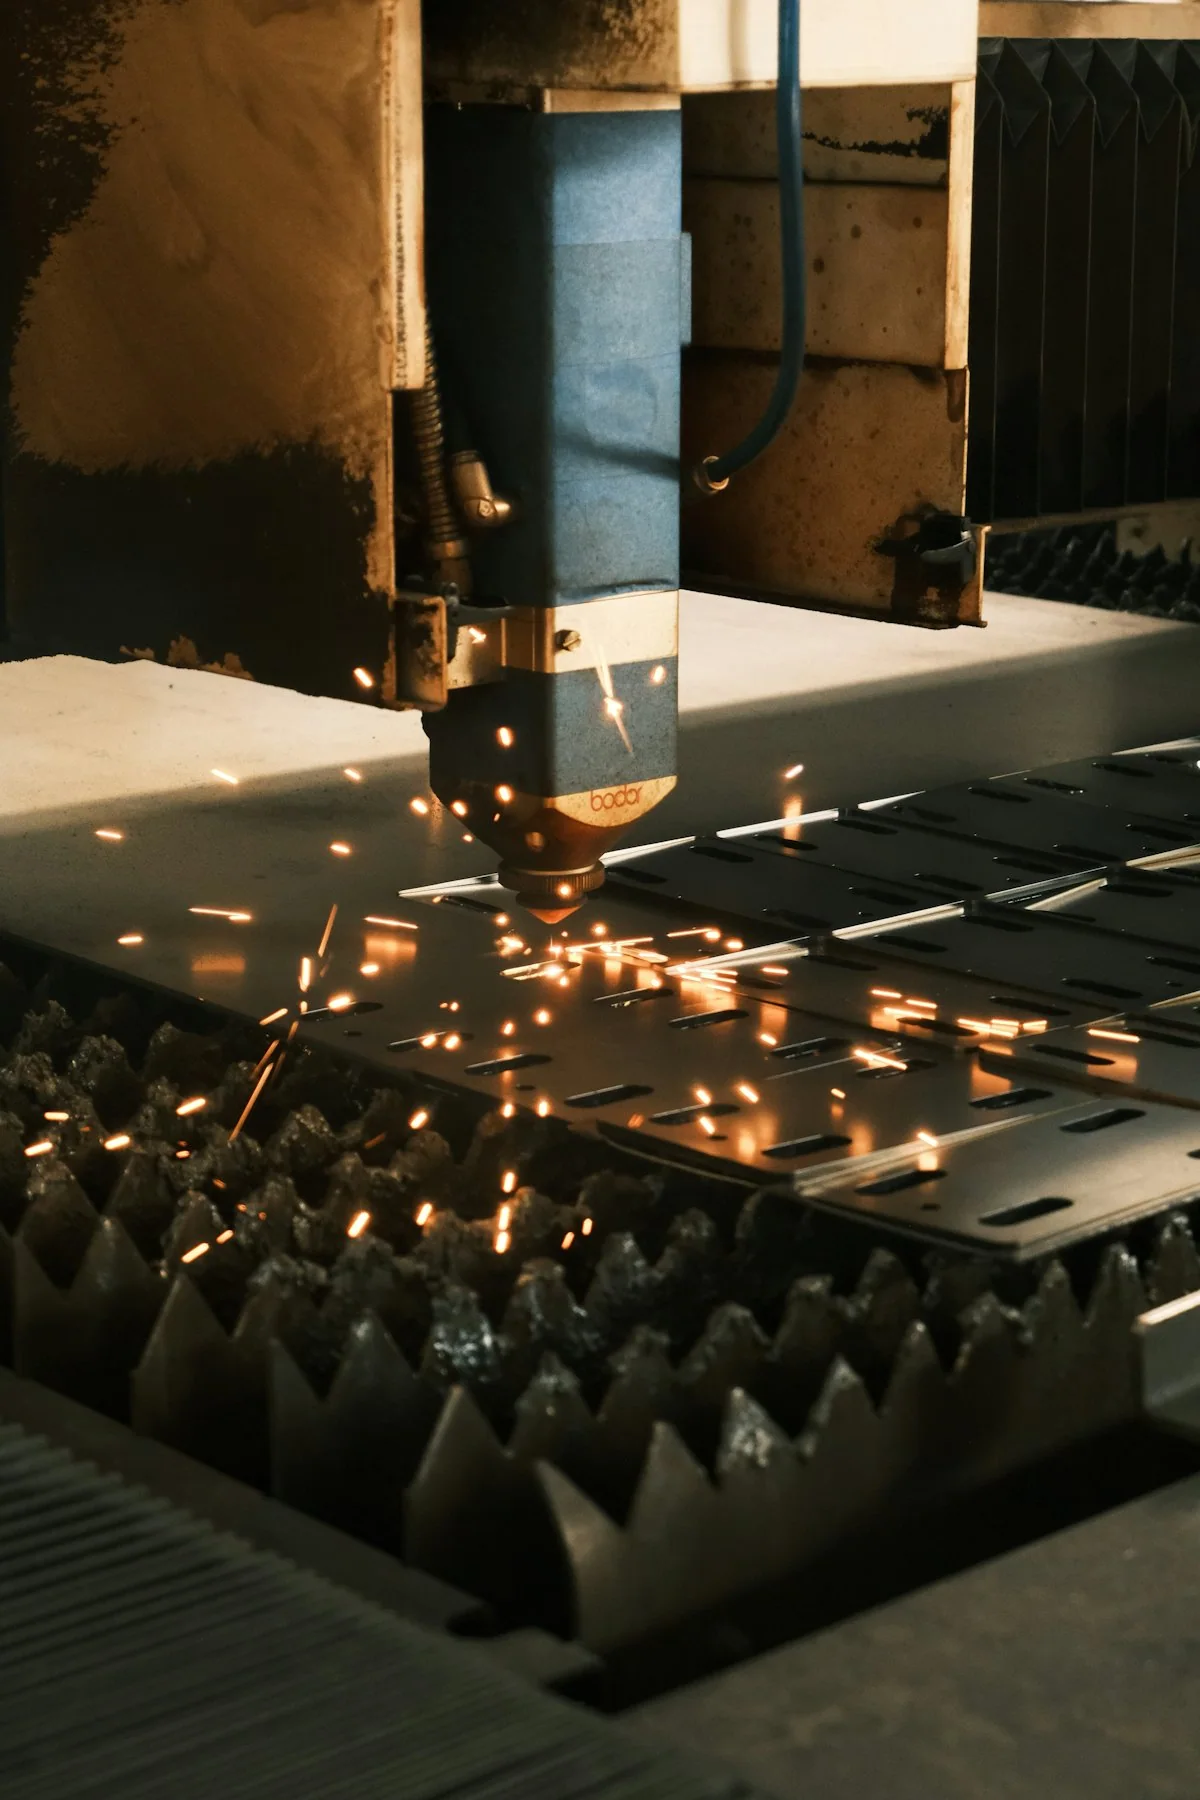
Temporary photo Profile
Describe the cutting profile, edge angle and any bevel or serration needed, ideally on a drawing that shows each face.
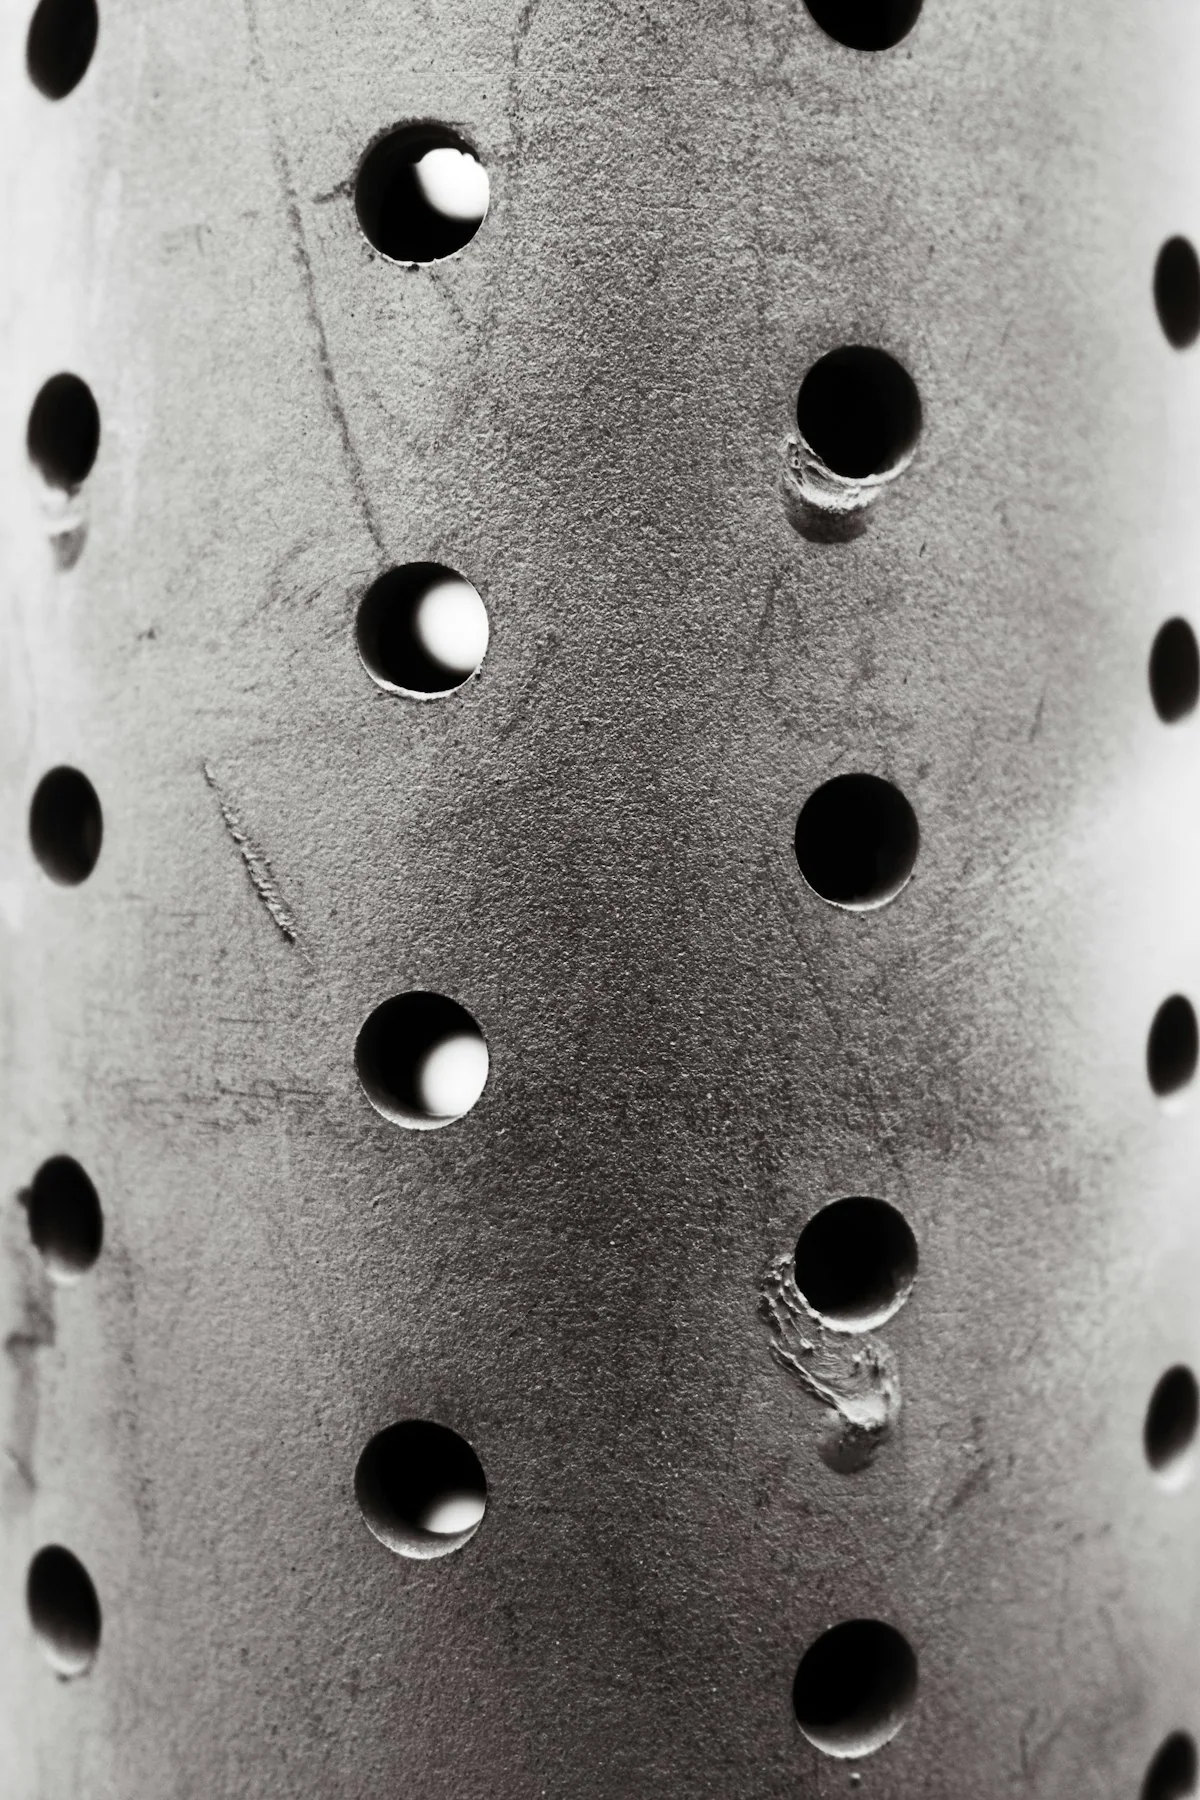
Temporary photo Mounting
Provide hole positions, slots and locating features, together with how the blade is clamped or bolted in your machine.
Temporary photo Material Specification
State the required material and any hardness or treatment values from your documents, and agree them before the quotation is confirmed.
See the Part Details
Review the actual cutting edge, mounting faces and identification photos. Available inspection information should show which dimension or specification was checked.
Photos of the actual part help you check details a drawing may not show, such as edge condition and the finish of mounting faces. Compare them with your old blade before you approve the match.
Edge Condition
Look at the cutting edge across its full length to confirm the profile matches your requirement.
Mounting Faces
Check that holes, slots and seating faces correspond to your drawing and to the position in your machine.
Reference on the Record
Make sure the photos are linked to the same reference you are ordering, not to a similar part.
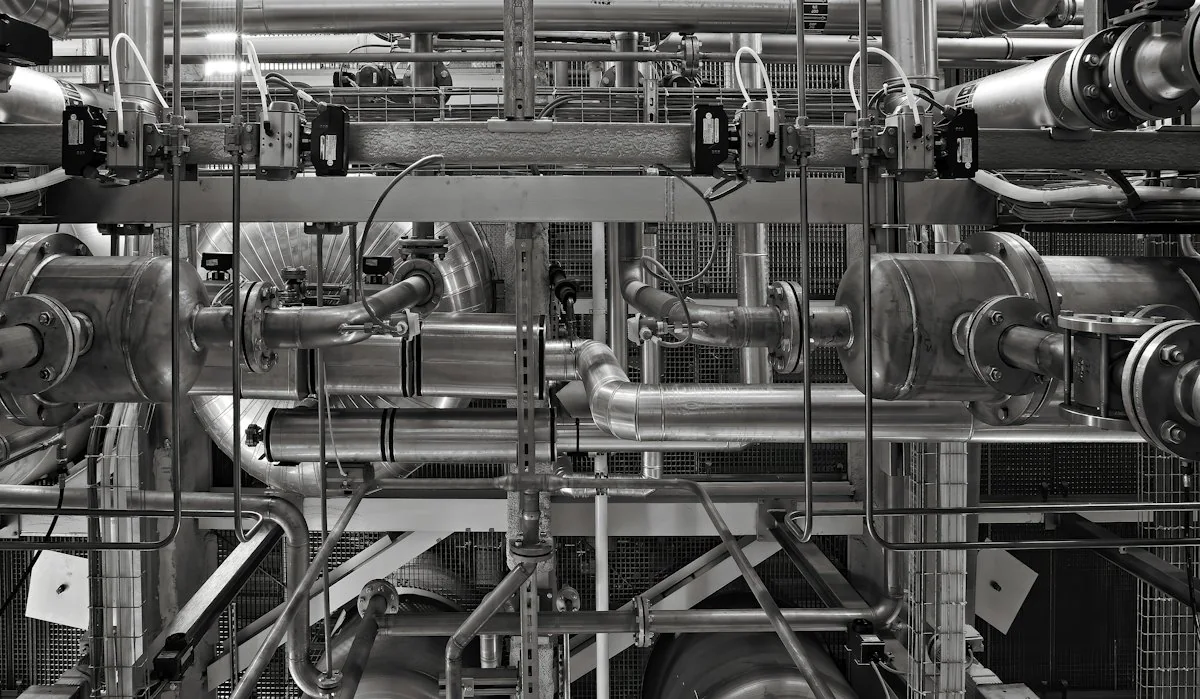
From the Factory
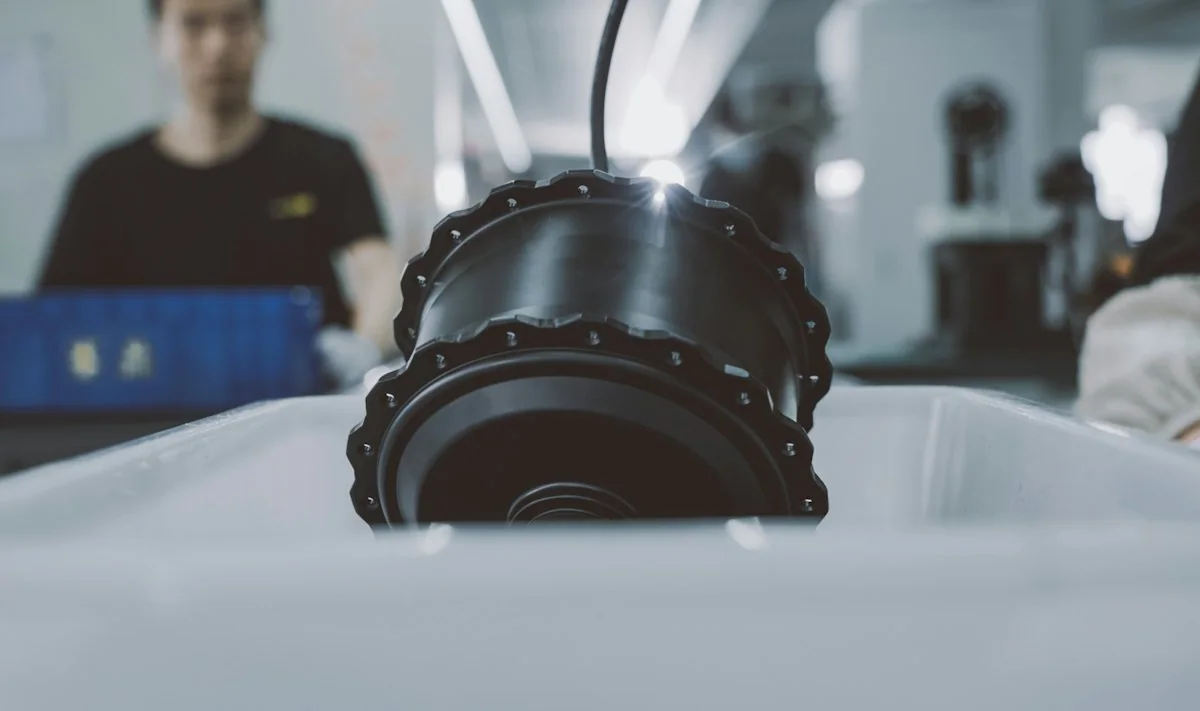
Connect your equipment or part request with the factory team handling the specification. Use relevant manufacturing, assembly or inspection images to review the proposed build and clarify the records required for your order.
For blades, ask which records come with the part, such as dimension checks or specification confirmation, and whether the blade is produced in the factory or sourced. This keeps your records consistent with how the part was actually supplied.
Specification Contact
Ask who will handle your blade specification so questions on profile, mounting or material reach the right person.
Records for Your Order
Agree in advance which inspection or specification records you need with the delivery.
Labels Matching References
Request that each blade or set is labelled with the reference you approved, to simplify storage and future orders.
Request a Part Quote
Have an old blade or drawing ready? Send it with the machine model and quantity to begin.
FAQ
Can I order from an old blade photo?
A photo is a starting point. Add the machine reference and dimensions so the part can be identified and the specification confirmed.
Are moving and fixed blades interchangeable?
Do not assume interchangeability. Confirm the part position, mounting details and approved reference.
Can you supply blades for another brand?
Submit the model and part information for a specific review. Supply and compatibility are not assumed for every brand.
Can different blade sizes share one enquiry?
List the references and quantities clearly. Each required size or matched set must be identified before the order is confirmed.
Can I request a custom specification?
Yes. Describe the configuration or specification you need, together with the material or machine reference. Feasible options, drawings where required, and the final supply scope are confirmed before production.
Request Your Blade Specification
Send the machine reference, blade profile, dimensions and required quantity. Include a drawing or photographs of the mounting details.
Include the details you already know. You do not need every specification to start.
What to Include
Use the details you already know. A model number is not required to begin.
6. REPLACEMENT PARTS
Machine model or nameplate; part number or installation position; drawings or dimensions; mounting details; required quantity.
Do not rely on appearance alone to establish compatibility.
7. WHAT TO AGREE IN THE PROPOSAL
Selected equipment; standard items; options; items supplied by others; relevant test/acceptance basis; documents; support and delivery responsibilities.
Please do not send unnecessary personal documents, passwords or unrelated confidential files.