China Light Duty Crusher Factory
Compare light-duty crushing options for smaller feed pieces and a defined working load. Keep the feeding method, cleaning access, installation space and next process stage in view when choosing your machine.
On This Page
Check Your Feed
Show the material as it enters the machine, including its largest pieces and thickest sections. Confirm whether the feed is consistent or changes between production batches.
A light-duty selection starts with the pieces you actually produce. Photograph them on a flat surface beside a measuring rule, and note where the thickest section sits. Include occasional larger pieces if they will be fed to the same machine.
- Photos of typical feed pieces beside a measuring rule
- Largest piece dimensions and the thickest section
- Material name and condition, such as clean, wet or mixed
- How the feed changes between production batches or colours
- How pieces reach the hopper, by hand or by conveyor
- Any future feed you expect to add later
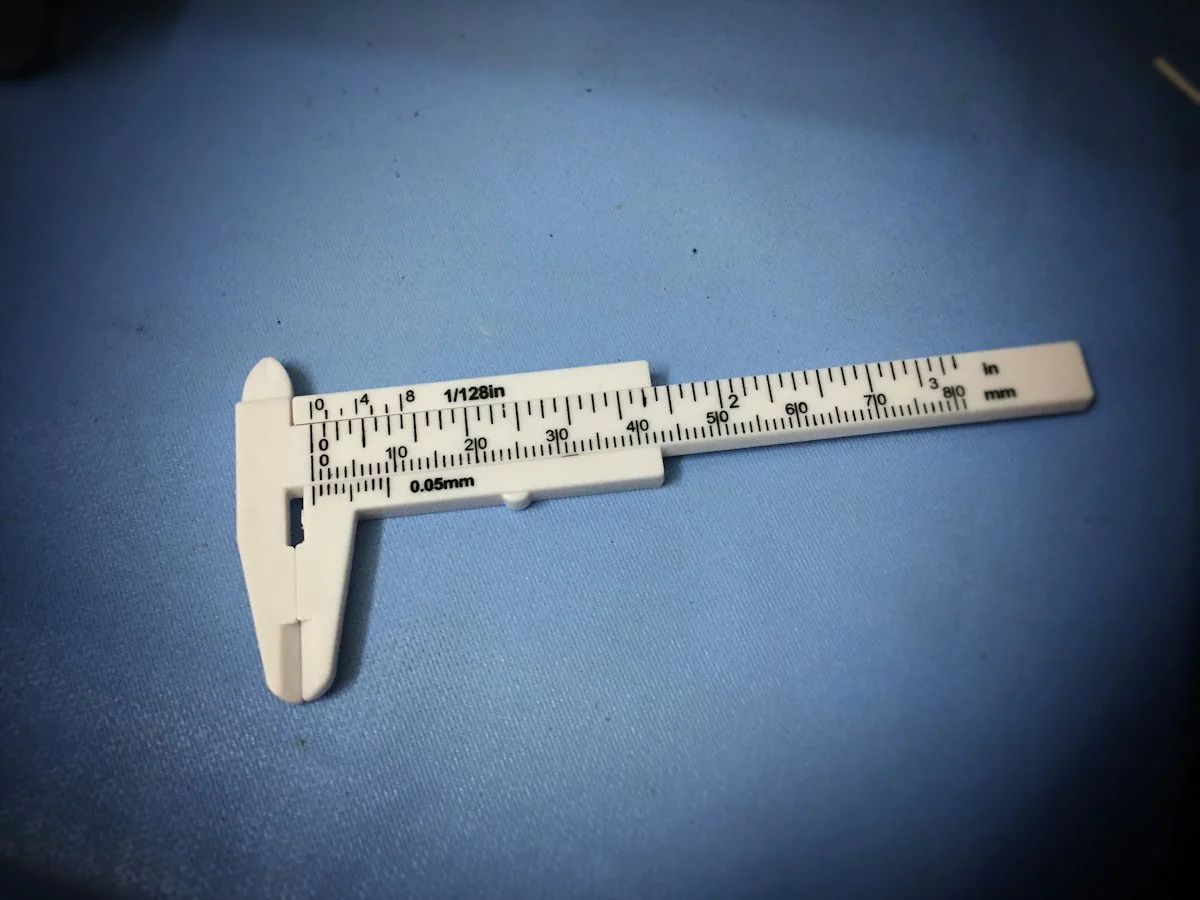
Do not read light duty as beside-the-press, low-speed or silent operation; confirm each of these separately for the model you are considering.
Match the Working Pattern
Describe the hourly target, feeding frequency and expected operating schedule. The model should be reviewed against your actual workload, including short periods of heavier feeding.
Your working pattern helps define the right model as much as the material does. Describe your normal rhythm and your busiest periods, and say who loads the machine, so the feeding and collection arrangement can be reviewed against real conditions.
Hourly Target
State the amount you expect to process per hour and how that figure was estimated. Note whether it refers to average production or to peak periods.
Batch Pattern
Explain whether material is collected and fed in batches or arrives steadily from production. Mention how long a typical batch lasts and how often it repeats.
Working Schedule
Share the shifts or hours the crusher is expected to run each day. Include any planned pauses for cleaning, material changes or collection.
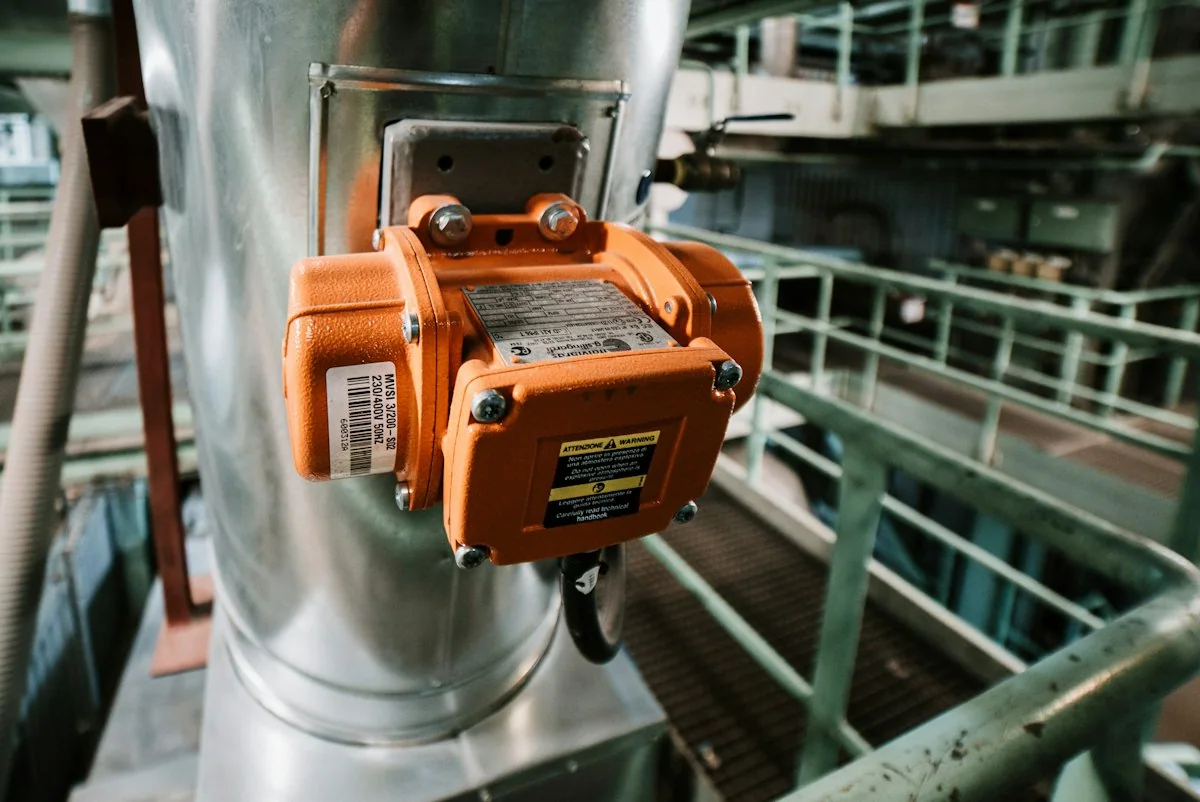
Typical Feed
Compare the dimensions and shape of the material normally produced, not just the largest item photographed for an enquiry.
Working Load
Intermittent collection and a continuous production stream need different feeding and discharge discussions. Describe the expected operating pattern.
Changeovers
Where materials or colours change, access for cleaning and collecting the previous batch becomes part of the selection decision.
Compare Available Models
Compare feed opening, power, screen options where applicable and the conditions behind any stated capacity. Open a model page for its confirmed dimensions and configuration.
Use the columns below as a checklist when you read each model card. Where a value is not listed, ask for the confirmed figure and its basis rather than estimating it from a similar machine.
Feed Opening
Compare the opening with your largest piece and the way it will be presented to the hopper. Check whether awkward shapes need to be oriented or reduced before feeding.
Cutting Arrangement
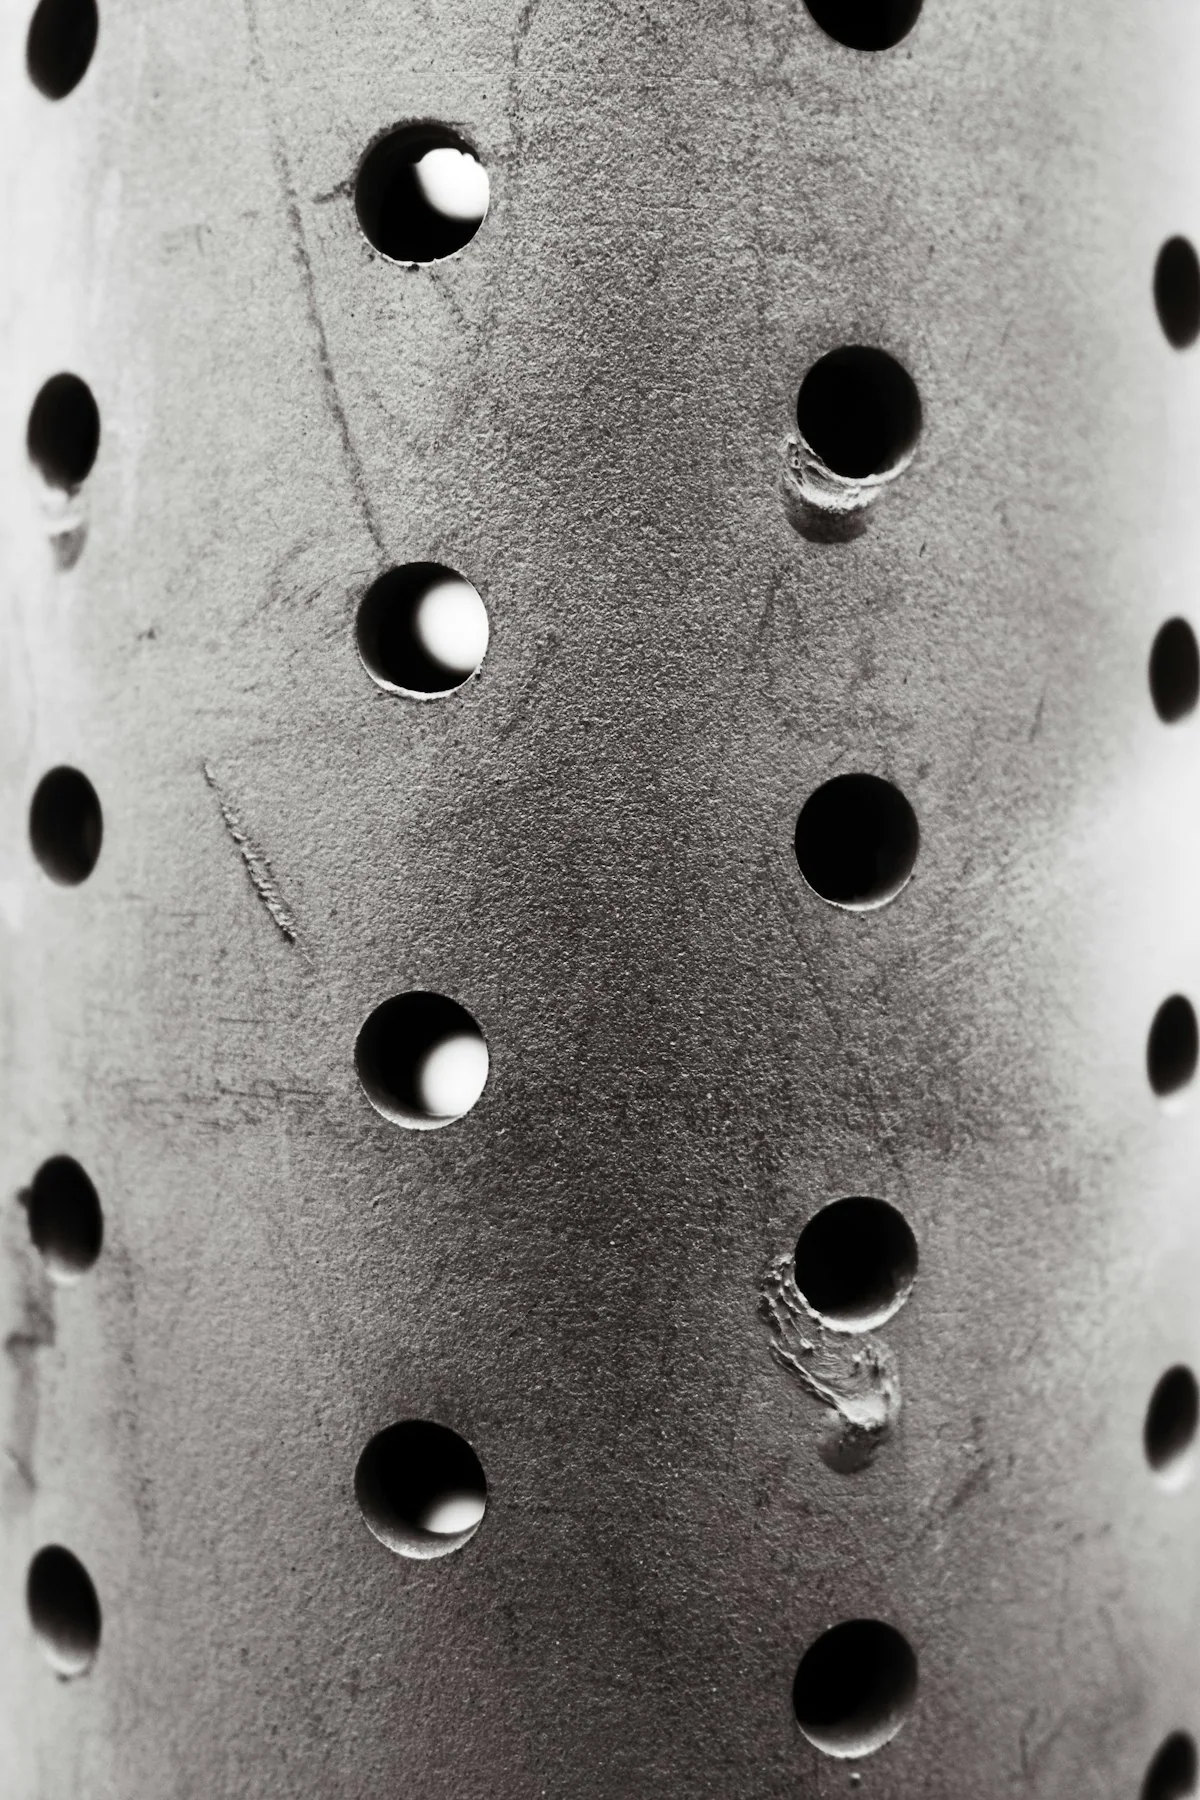
Check how the rotor and fixed blades are arranged and whether a screen controls the discharge. This affects the output, cleaning access and the replacement parts you will need.
Power
Review installed power together with your material and working pattern, not as a measure of capacity on its own. Confirm that your site supply matches the stated electrical requirement.
Footprint
Compare the machine footprint with your available floor space, adding room for feeding and maintenance. Ask whether the stated dimensions include the hopper and any collection equipment.
Discuss My Configuration
Send your feed photos and working pattern to compare the listed models against your actual workload.
Review Installation Space
Check the machine footprint, feeding access and the space needed for maintenance. Identify nearby production equipment when the crusher will become part of an existing workshop.
Plan the space before you finalise the model. A short site review now helps avoid a machine that fits the floor but leaves no room to feed, clean or replace parts. Where noise matters, ask for any measured values together with their test conditions.
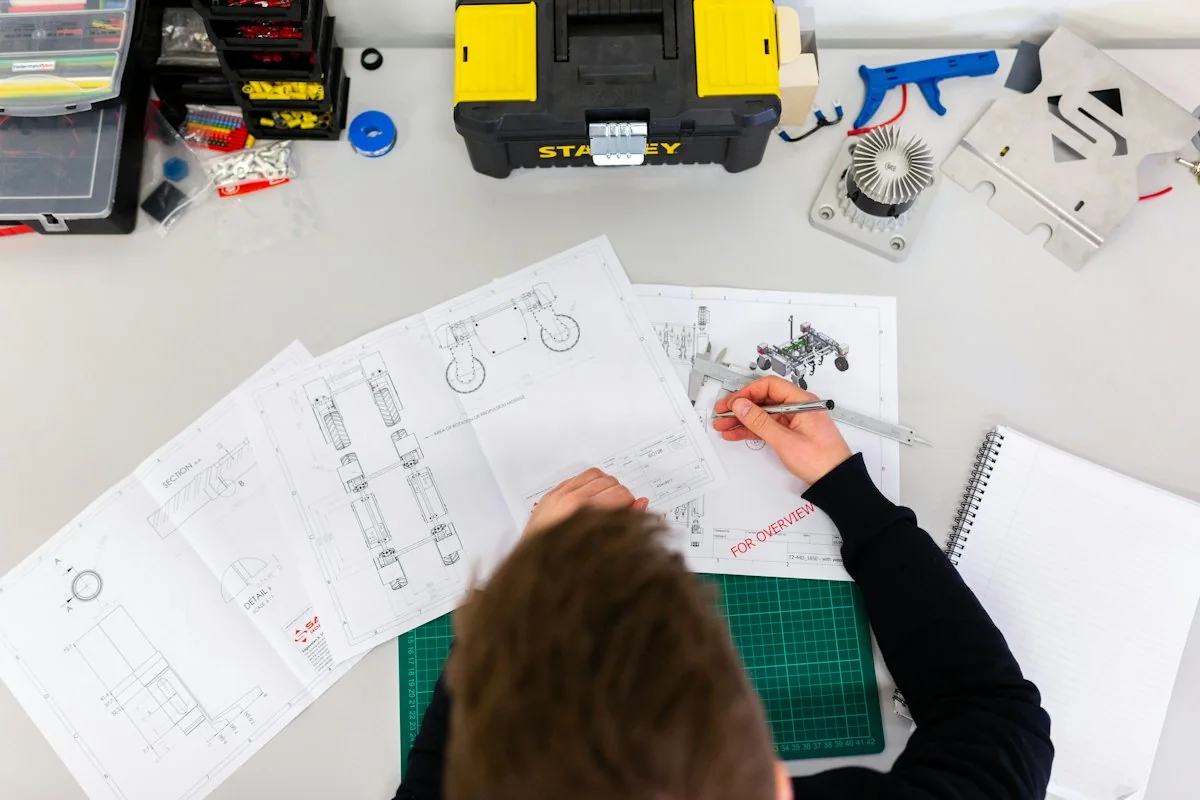
Temporary photo 01Measure the Floor Area
Measure the floor area available, including ceiling height and any columns, doors or drains nearby. Mark it on a simple sketch or drawing.
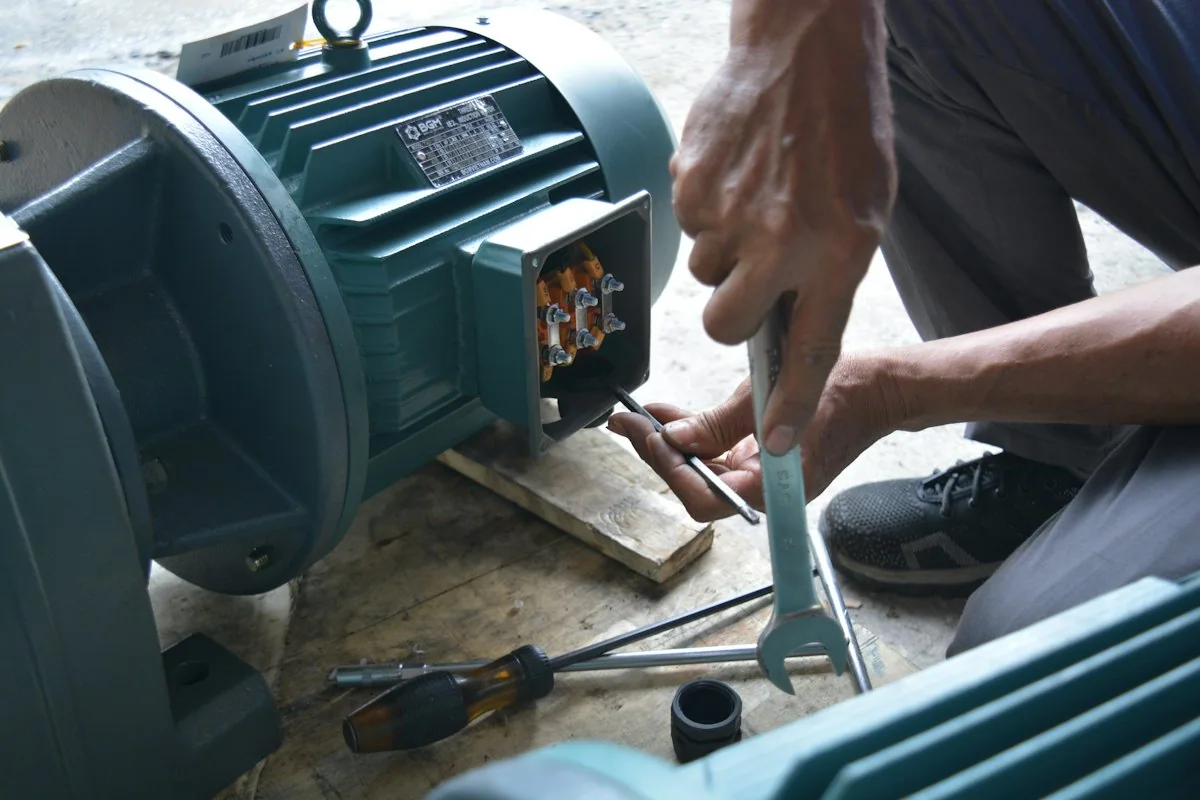
Temporary photo 02Mark the Feeding Side
Show where the operator or conveyor will deliver material to the hopper. Allow enough working space for loading without crowding nearby equipment.
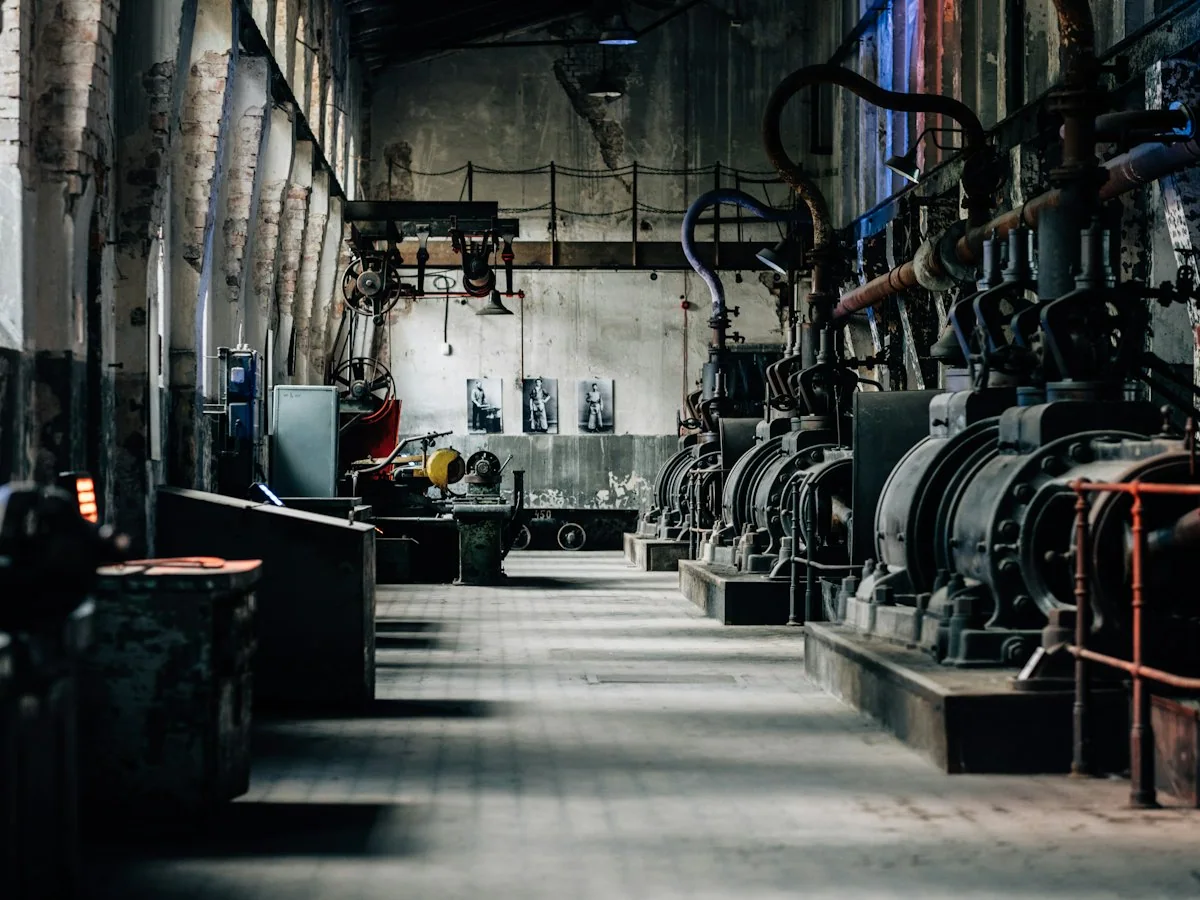
Temporary photo 03Allow Maintenance Clearance
Leave space to open the cutting chamber and reach the screen and blades. Ask for the clearance required by the selected model.
Temporary photo 04Note Nearby Equipment
Photograph the machines, conveyors or collection points beside the planned position. This helps review how the crusher will connect to your existing workshop.
Check Cleaning and Parts
Review access to the cutting chamber and the identified blade or screen arrangement. Discuss material changes and replacement parts before choosing the configuration.
Cleaning and parts access affect how the crusher fits your daily routine, especially where materials or colours change often. Review them before ordering, and keep each wear part linked to the machine reference for future orders.
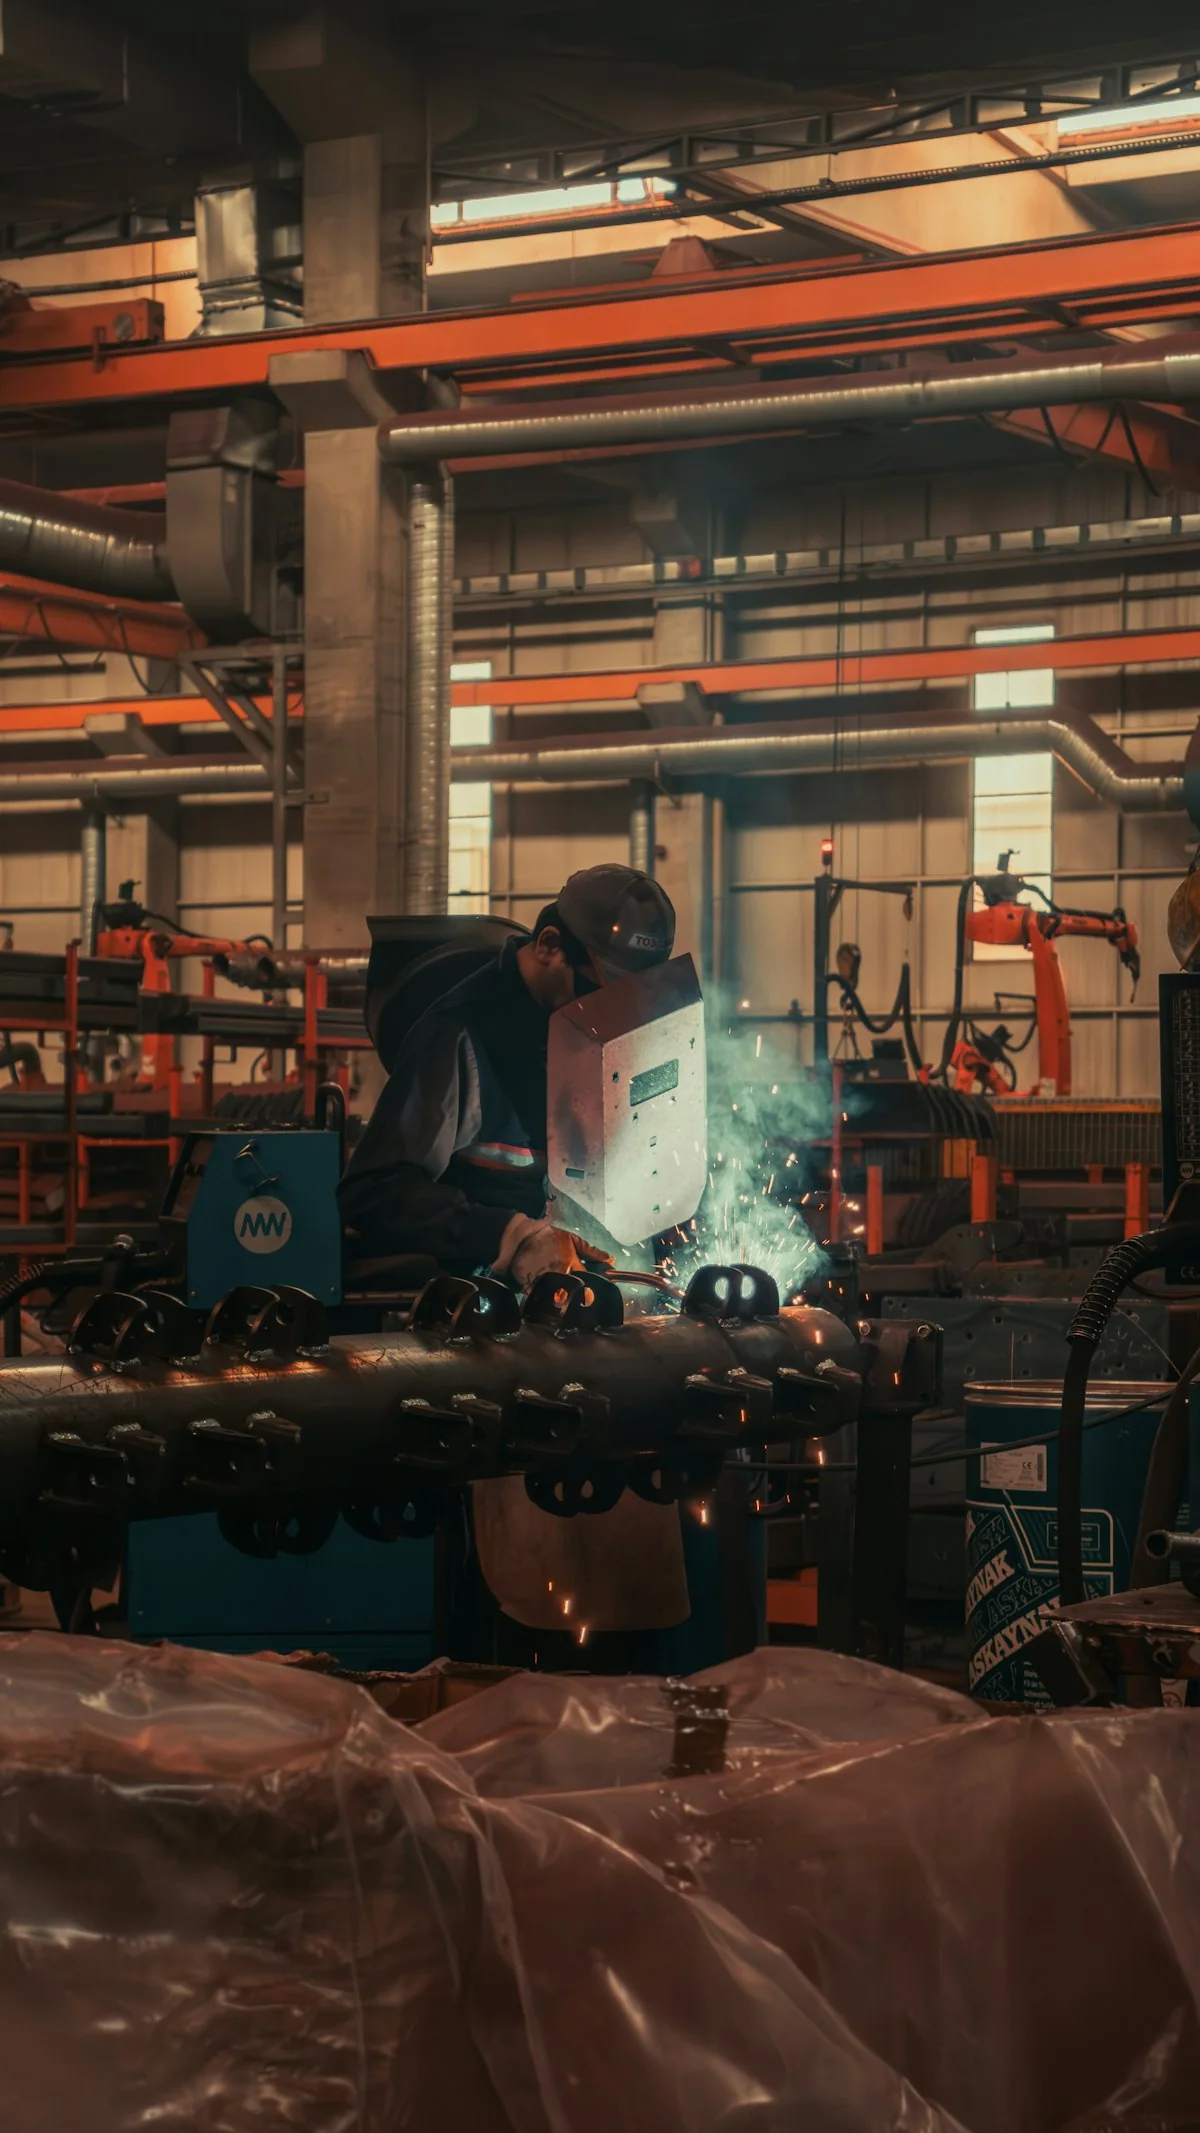
Temporary photo Chamber Access
Ask how the cutting chamber opens and what must be moved to reach it. Review real photographs of the open chamber for the model you are considering.
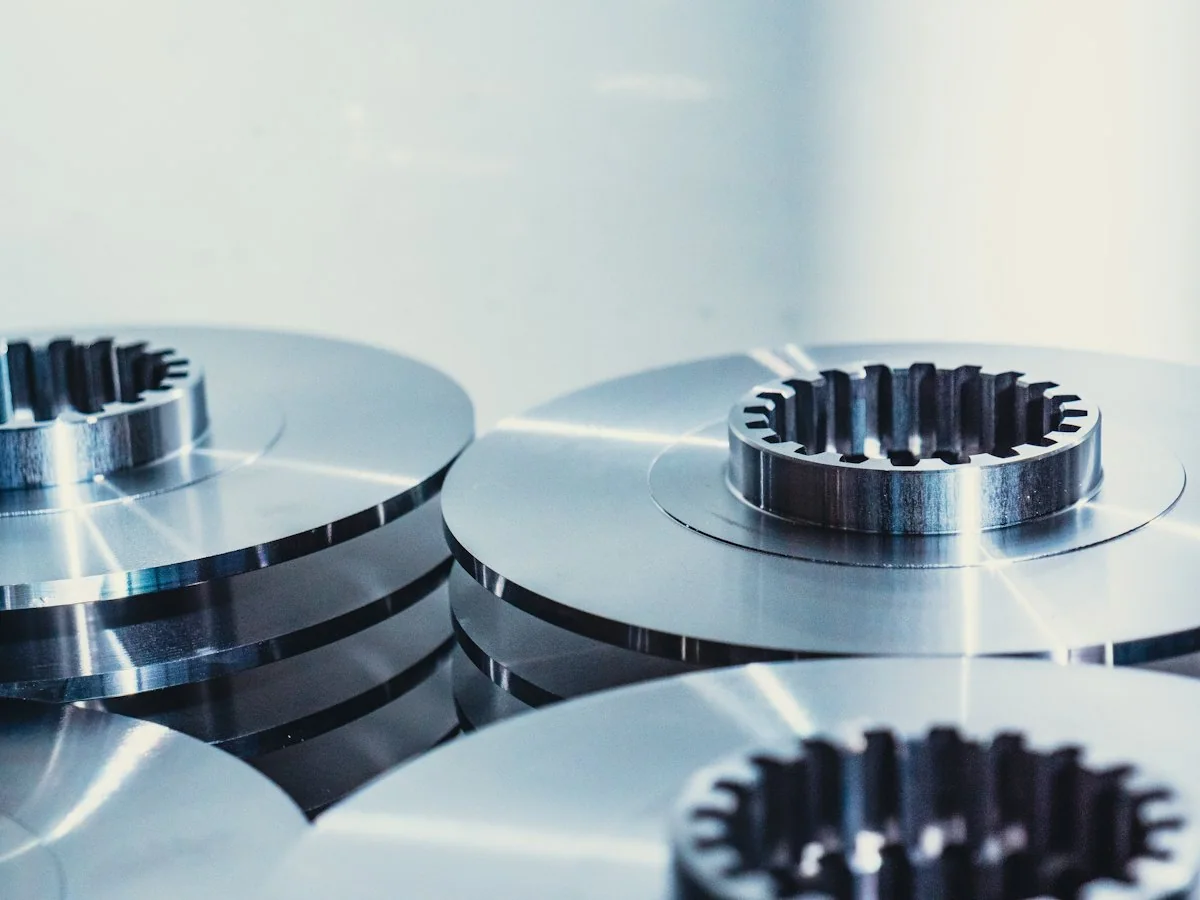
Temporary photo Blade Arrangement
Identify the rotor and fixed blades fitted to the selected model. Ask which blade references apply when you need replacements.

Temporary photo Screen Arrangement
Where a screen is fitted, confirm how it is accessed and which screen references suit your required output.
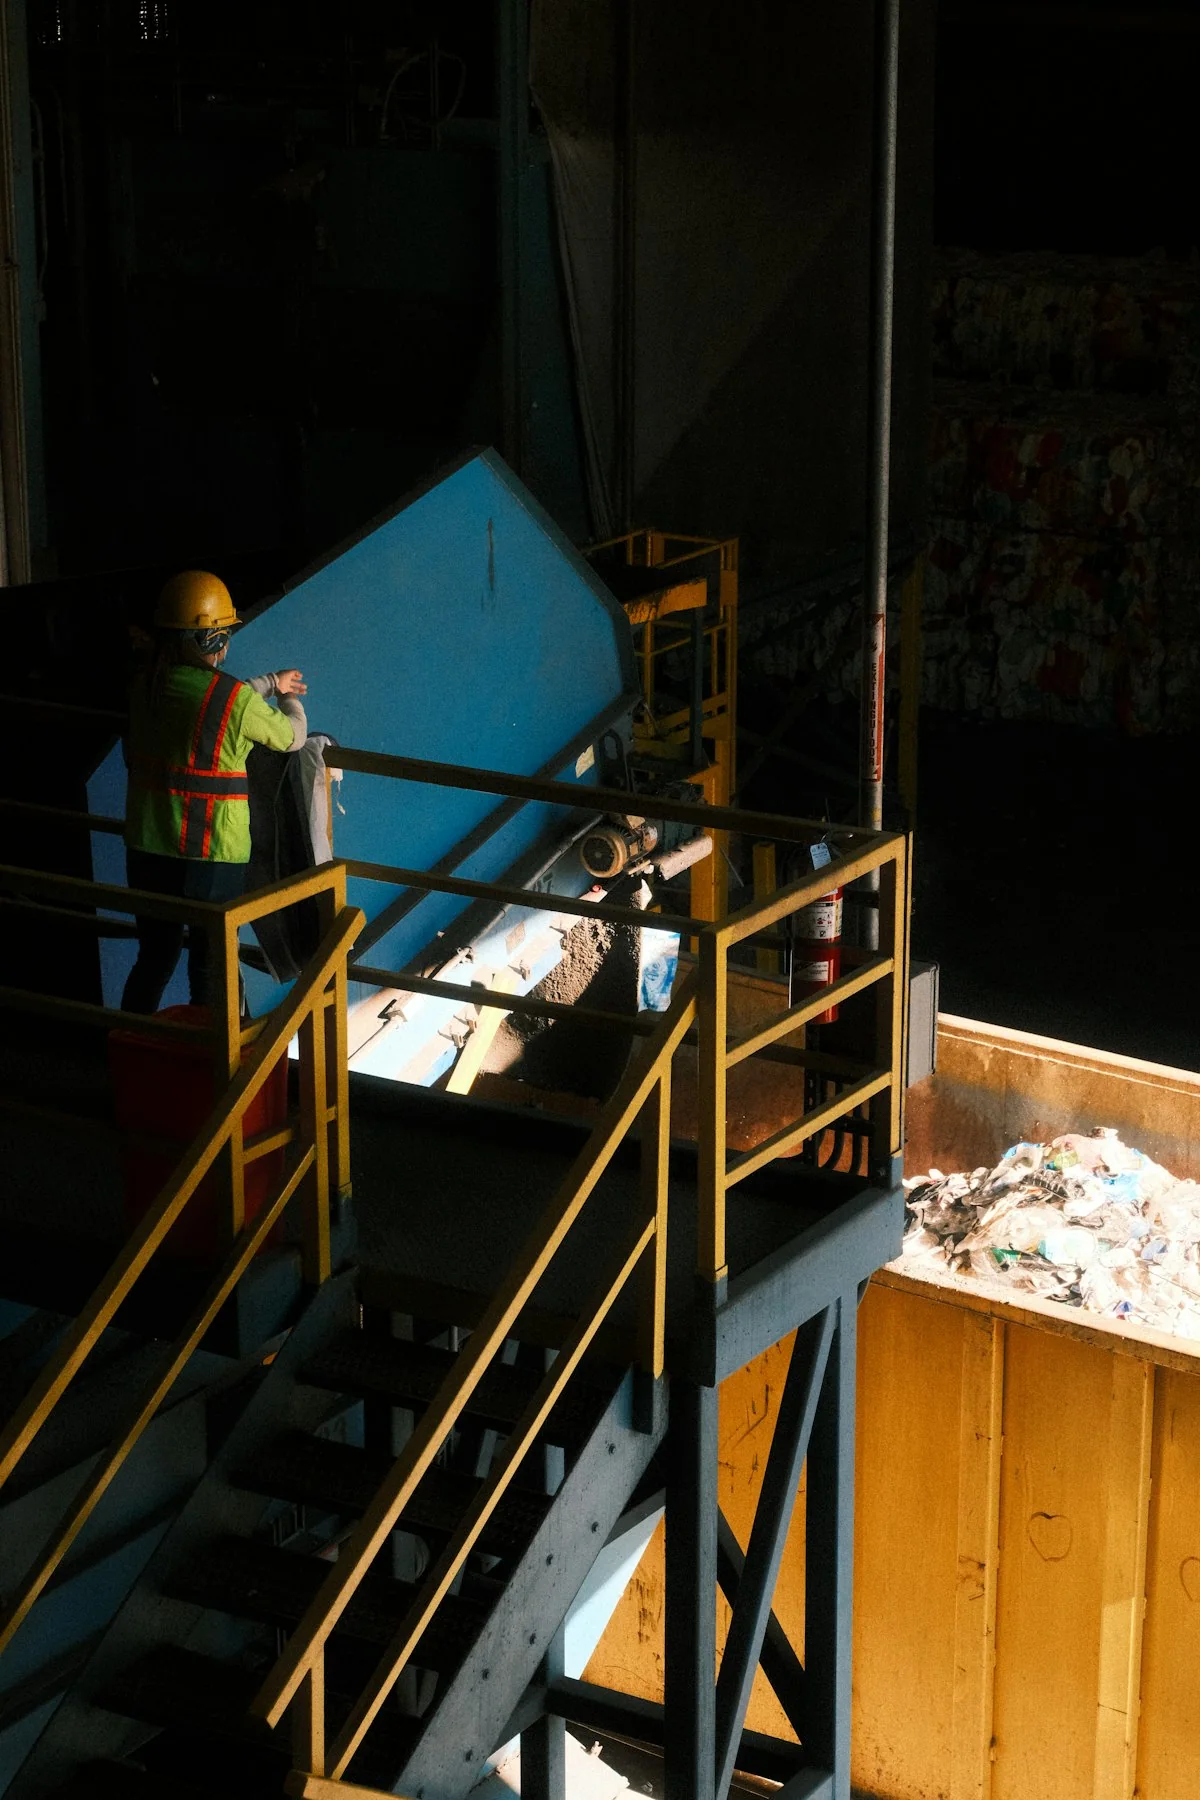
Temporary photo Residue Between Batches
Describe how often you switch materials and how much carry-over between batches is acceptable. This shows how much weight to give to chamber access.
See the Actual Build
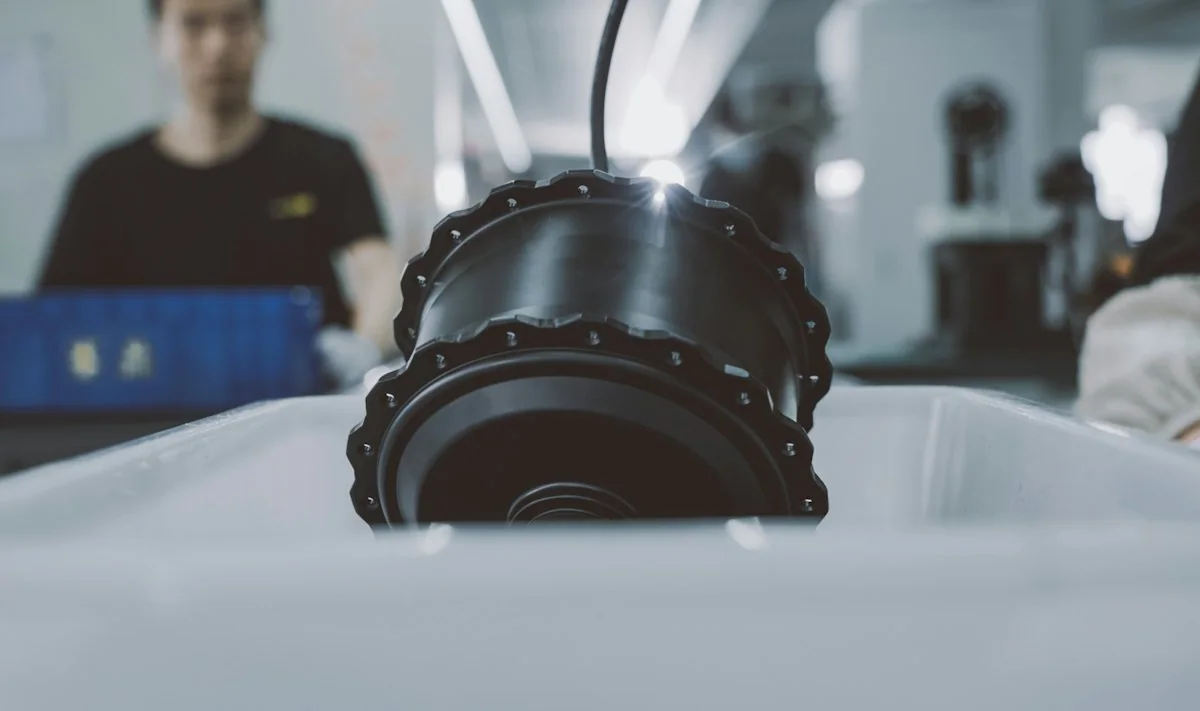
Review the hopper, cutting assembly and discharge arrangement of the available series. Product and workshop images should show the same model family you are considering.
Photographs are most useful when they show the same series you are evaluating. Ask for images of the assembled machine and its main components, and check that the model reference matches the configuration under discussion.
Hopper and Feed Area
Check the hopper shape and opening against the way your material will be loaded.
Rotor and Chamber
Review the rotor, blade mounting and chamber construction shown in assembly photos.
Discharge Arrangement
See how material leaves the machine and where your collection container or conveyor would sit.

Fit Your Workstation
Discuss the hopper, feeding height, base arrangement and material collection around your workstation. Where needed, ask about enclosure or noise-control options and confirm what the selected configuration actually includes.
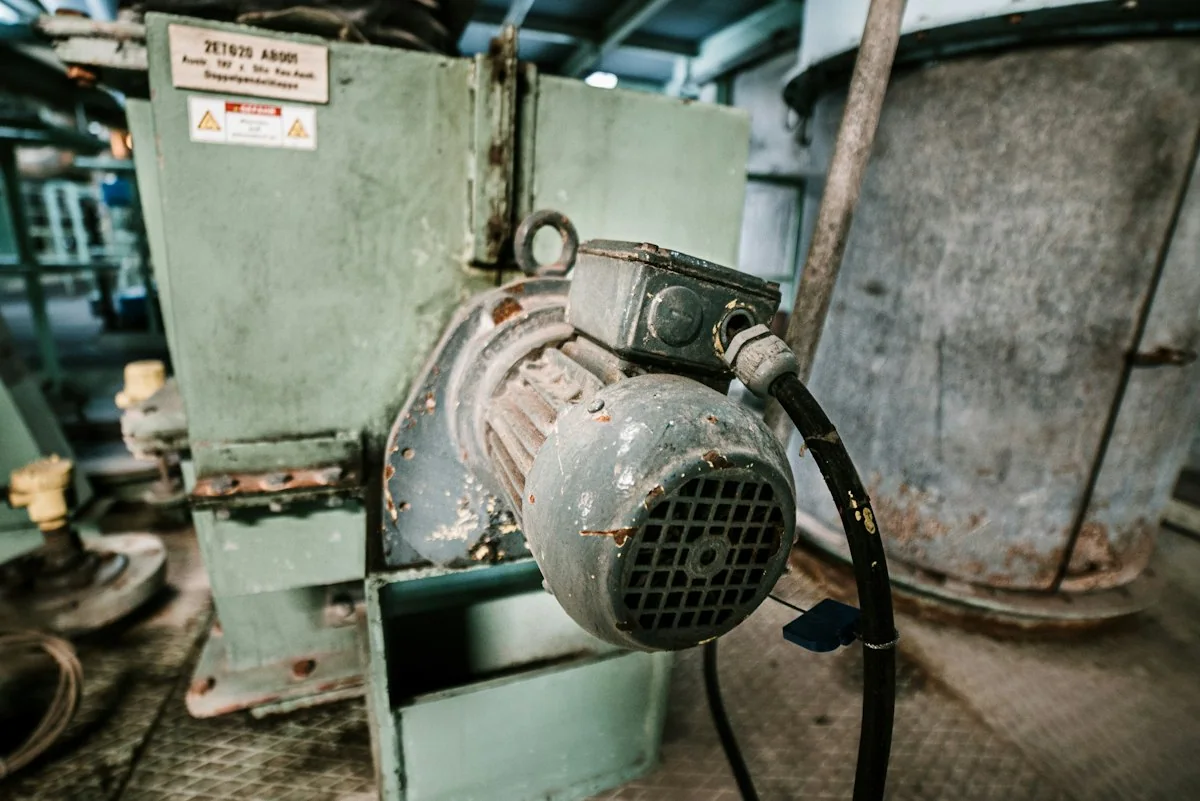
Temporary photo Feeding Height
Describe how material is loaded and the working height that suits your operators. The hopper and base arrangement can then be discussed for that loading method.

Temporary photo Collection
Describe how you want crushed material collected, such as a bin, bag or conveyor. Confirm which collection items are part of the proposed supply.
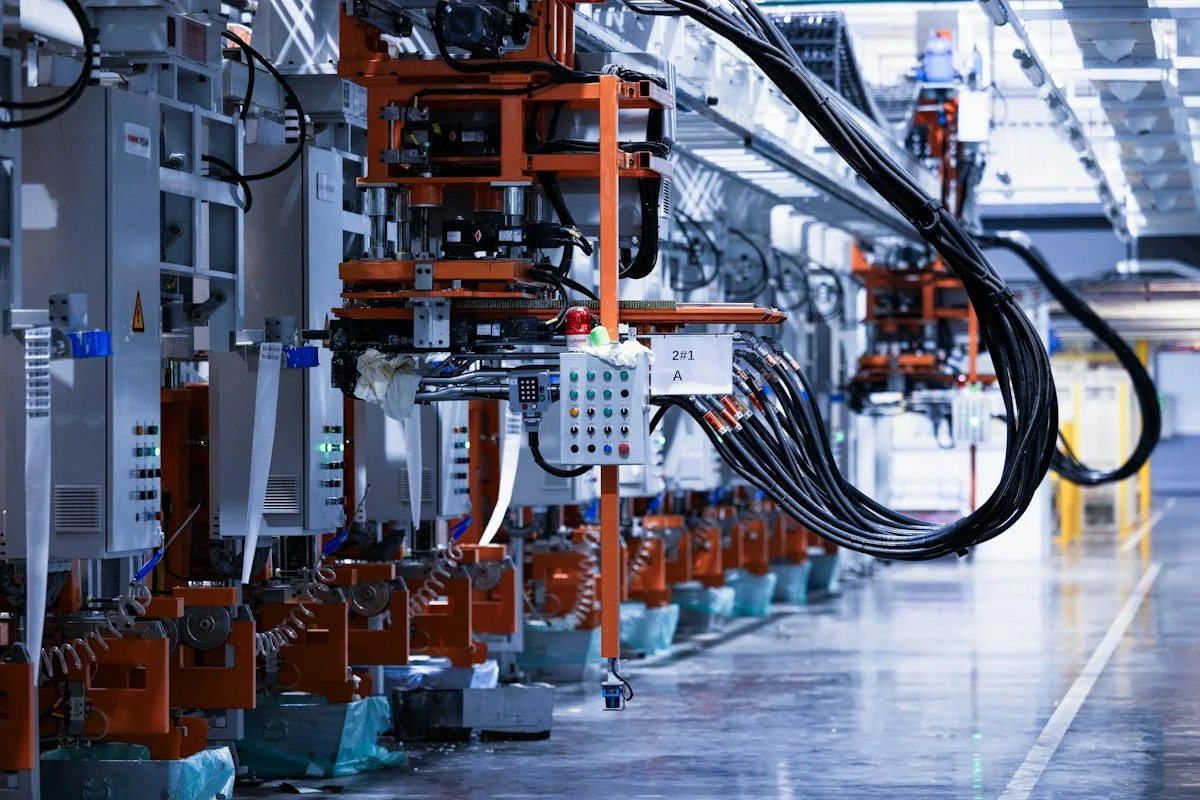
Temporary photo Installation Layout
Share a sketch of the workstation and the equipment around it. Ask which base or mounting arrangements can be discussed, and confirm what is included in the supply.
Compare the Next Option
When feed dimensions or duty exceed this series, review the heavy-duty range. When long pipe feed is the main issue, compare the pipe-focused range instead of choosing only by motor size.
Use the same feed photos and working pattern you prepared for this page when you compare another range, so each recommendation is based on identical information.
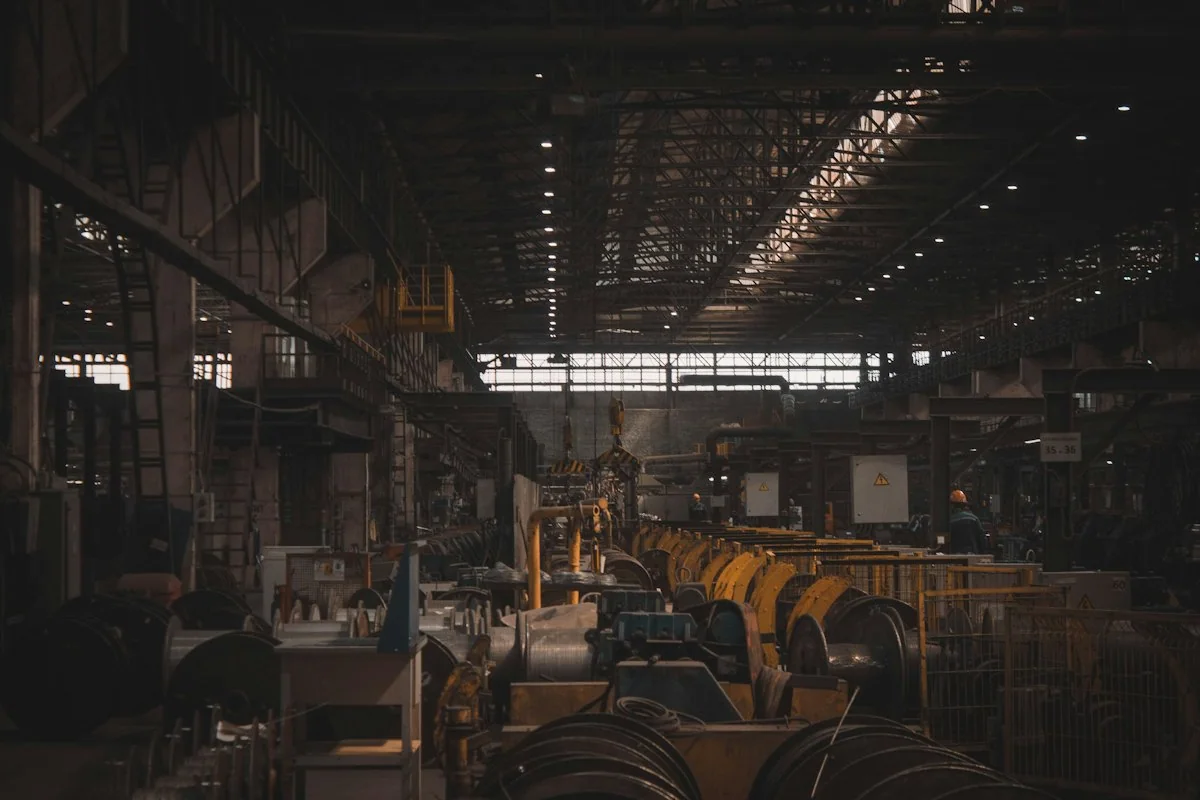
Heavy Duty Crushers
Review this range when your pieces are thicker or larger than this series is documented to handle, or your working load is heavier. Compare the chamber, rotor and feeding arrangement.
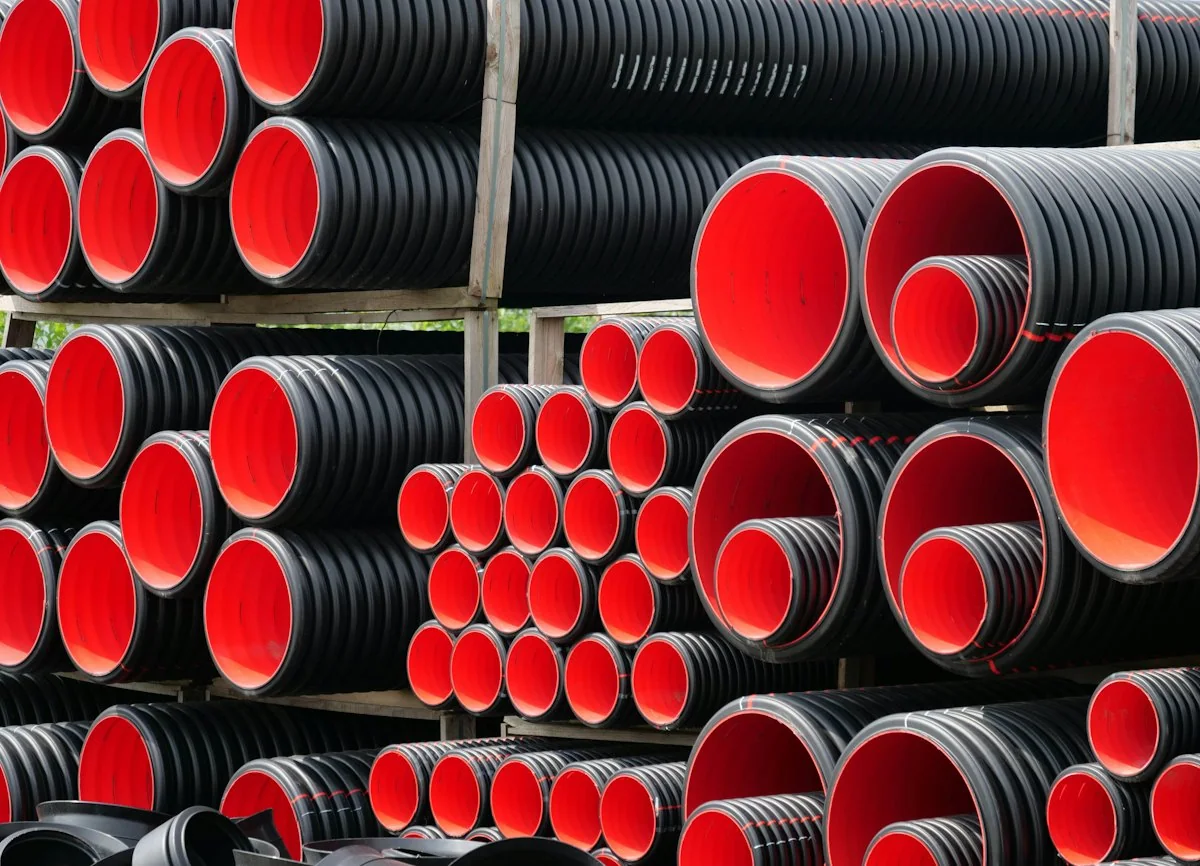
Pipe Crushers
Review this range when long pipe or profile lengths are your main feeding issue. Compare the hopper and feeding method with your pipe diameter, length and wall thickness.
Discuss My Configuration
Not sure which range suits your feed? Send photos and your working pattern for a review.
FAQ
Does light-duty mean low-speed or beside-the-press?
Not automatically. These are separate design or application descriptions and must be confirmed for the specific model.
Can I use it for thicker parts later?
Provide the expected future feed as well as the current material. Suitability must be reviewed against the model’s documented limits.
Is a soundproof enclosure standard?
Check the actual configuration. Noise-related features and measured noise values should not be assumed from the category name.
Can the machine connect to my existing line?
Send the available space, feed method and receiving equipment details. The proposed interfaces and supply scope need to be confirmed.
Can this be customized for my process?
Yes. Describe the configuration or specification you need, together with the material or machine reference. Feasible options, drawings where required, and the final supply scope are confirmed before production.
Match Your Feed and Workload
Send the normal feed dimensions, material and working pattern. Add the collection method, available space and required output.
Include the details you already know. You do not need every specification to start.
What to Include
Use the details you already know. A model number is not required to begin.
1. YOUR MATERIAL
Material name and condition; largest starting dimensions; a photograph when available.
Describe thickness, mixed shapes or other details that affect feeding.
2. YOUR OUTPUT
Required powder, smaller pieces or regrind; the next process; the output specification and its measurement basis when known.
State the desired hourly throughput as a target, not a confirmed machine result.
3. YOUR SITE
Country/region; known power supply; available floor space and height; existing equipment; relevant cooling or nitrogen arrangements.
4. YOUR CONFIGURATION
Standalone machine, replacement machine or connected line.
Describe requested changes to feeding, discharge, cooling, controls, layout or connections.
7. WHAT TO AGREE IN THE PROPOSAL
Selected equipment; standard items; options; items supplied by others; relevant test/acceptance basis; documents; support and delivery responsibilities.
Please do not send unnecessary personal documents, passwords or unrelated confidential files.