China Crusher Factory
Reduce your feed into smaller pieces with a crusher selected for its size, shape and working load. Compare light-duty, heavy-duty and pipe-focused designs, then discuss the feeding, cutting and discharge arrangement for your process.
On This Page
Choose Your Crusher Type
Start with the geometry and condition of your feed. Compare the listed light-duty and heavy-duty series for the required duty, or review the pipe range when long, hollow feed creates a different loading requirement.
If your feed mixes several shapes, describe the most demanding pieces as well as the typical ones. The series is chosen around the full range you expect to load.
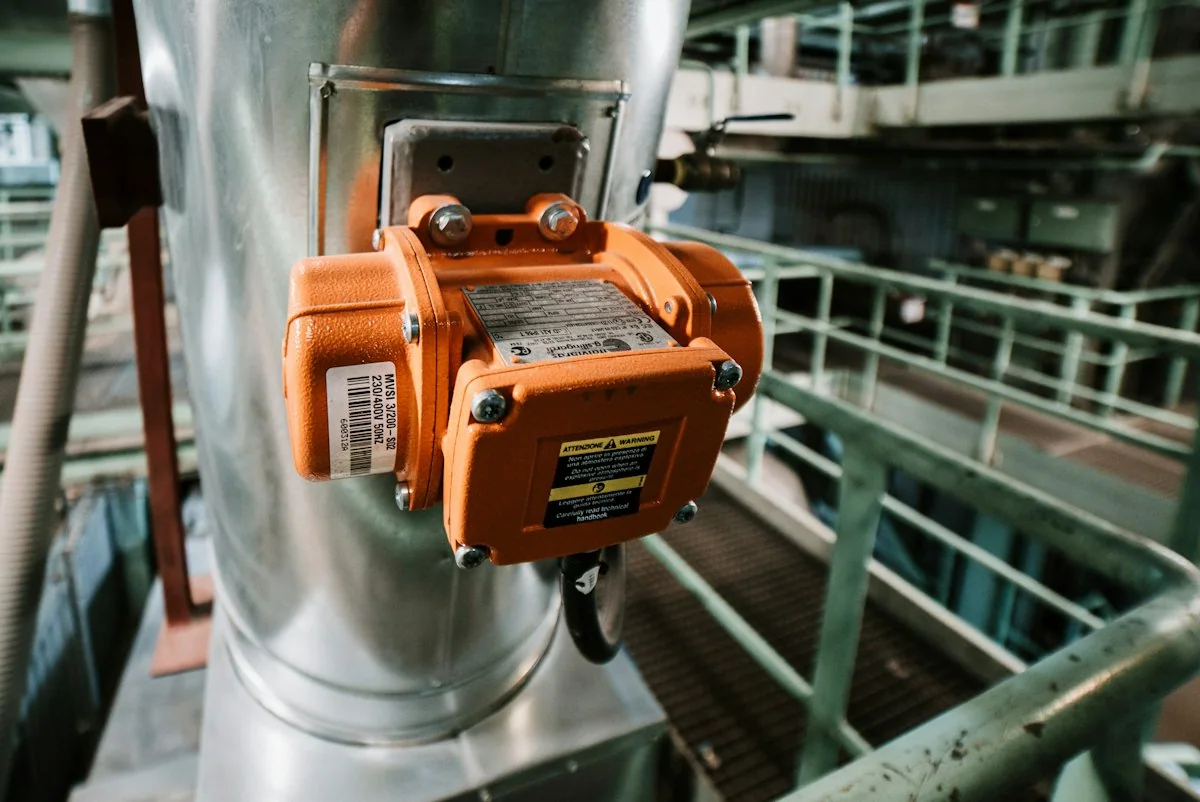
Light Duty Crushers
Review this series when your feed and daily workload sit within its published limits. Check cleaning access, floor space and feeding height against your workshop.
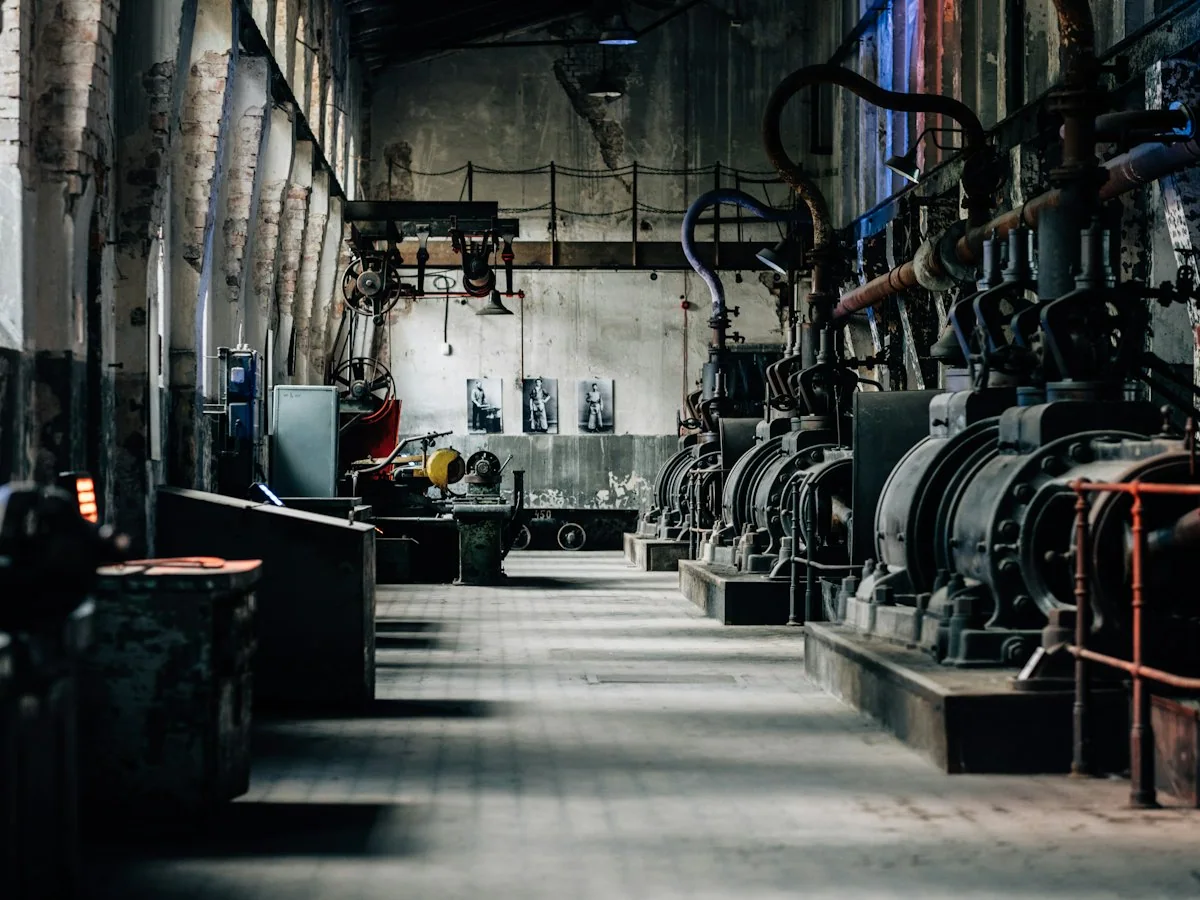
Heavy Duty Crushers
Review this series when thick, bulky or tough feed needs a more demanding cutting arrangement. Compare the chamber, rotor and pre-treatment needs using confirmed specifications.
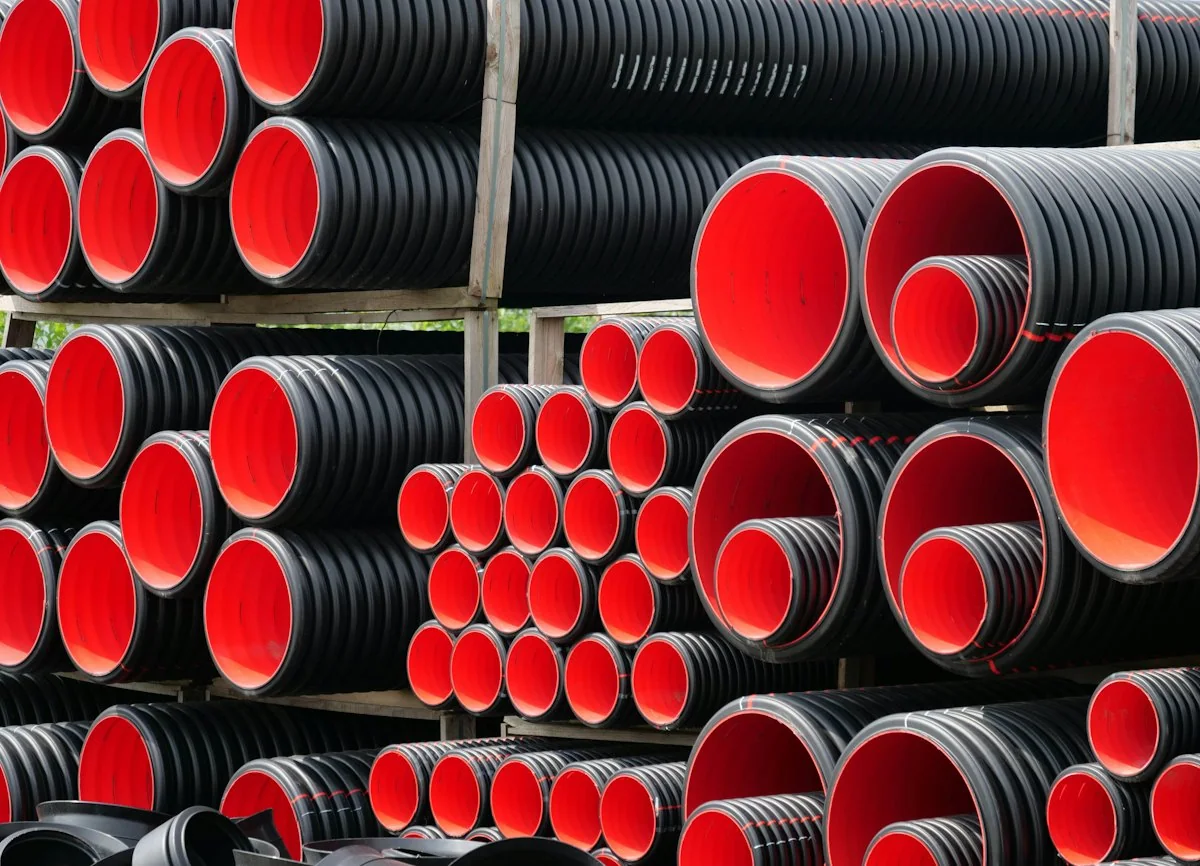
Pipe Crushers
Review this range when long or hollow pipe stock changes how the machine is loaded. Share how pipes are cut, bundled or fed before comparing models.
| Type | Main Selection Question | What to Compare |
|---|---|---|
| Light Duty | Does the normal feed and working load fit a smaller-duty setup? | Feed size, work pattern, cleaning and space. |
| Heavy Duty | Does the feed require a more demanding crushing arrangement? | Geometry, chamber, cutting assembly and pre-treatment. |
| Pipe Crusher | How will the actual pipe stock enter the machine? | Diameter, length, wall thickness and preparation. |
Show What Goes In
A machine opening alone does not describe the whole feeding requirement. Share the material, maximum dimensions, wall thickness and whether pieces arrive individually or in batches.
Real photos of your feed, with dimensions marked, show more than a list of material names. Include the awkward pieces, such as thick lumps, long profiles or tangled material, because these shape the feeding discussion.
- Material type and grade, not only an abbreviation
- Largest length, width and thickness of the feed
- Wall thickness for hollow parts or pipe
- Whether pieces arrive loose, bundled or in batches
- Any metal, stones, labels or dirt mixed in
- How you plan to load: by hand, conveyor or loader
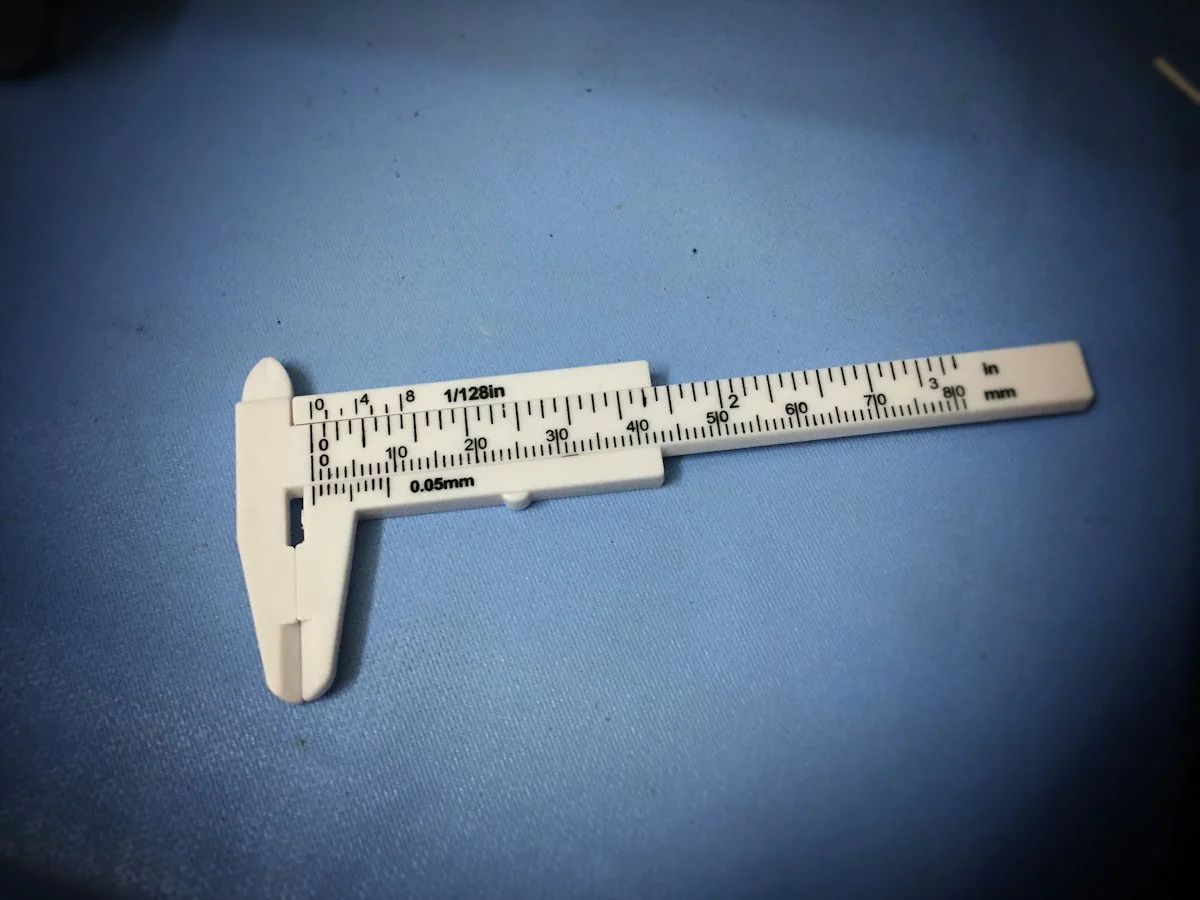
Photograph the feed beside a rule or tape, so the dimensions can be read directly from the image.
Define the Required Output
Explain whether the discharge goes to reuse, further size reduction or another process. Provide your required size specification and any limits on fines or contamination that need to be reviewed.
Describe the output by its use, then add the size specification and how it will be checked. A screen hole size describes the opening, not the exact size of every discharged piece.
Name the Next Process
State whether the material goes to washing, pelletising, pulverizing or direct reuse, as each step has its own size needs.
Set Fines and Dust Limits
If fines, dust or contamination affect your next step, describe the acceptable level and how it is measured.
Keep a Reference Sample
A sample of crushed material you already accept helps compare results, together with the conditions it was produced under.


Compare Models
Review chamber size, feed arrangement, power and the documented capacity basis. Check these together with access for blade and screen replacement.
Where a field is blank, ask for the confirmed value rather than estimating from a similar machine.
Crusher Type
Check whether the model belongs to the light-duty, heavy-duty or pipe range. Compare models within the same range first.
Feed Opening
Compare the opening with your largest pieces and the way they enter. Long, thick or tangled feed may need more than a wide opening.
Power
Check installed power against your site supply and starting conditions, then read it alongside the chamber and cutting arrangement.
Output Basis
Ask which material, screen and feeding method produced any listed output. Results on a different material need a separate review.
Discuss My Configuration
Share photos of your feed and the output you need to review which crusher series fits.
Connect the Right Stages
Some projects require pre-shredding, while others need only a crusher. A downstream pulverizer is relevant only when powder is part of your required output.
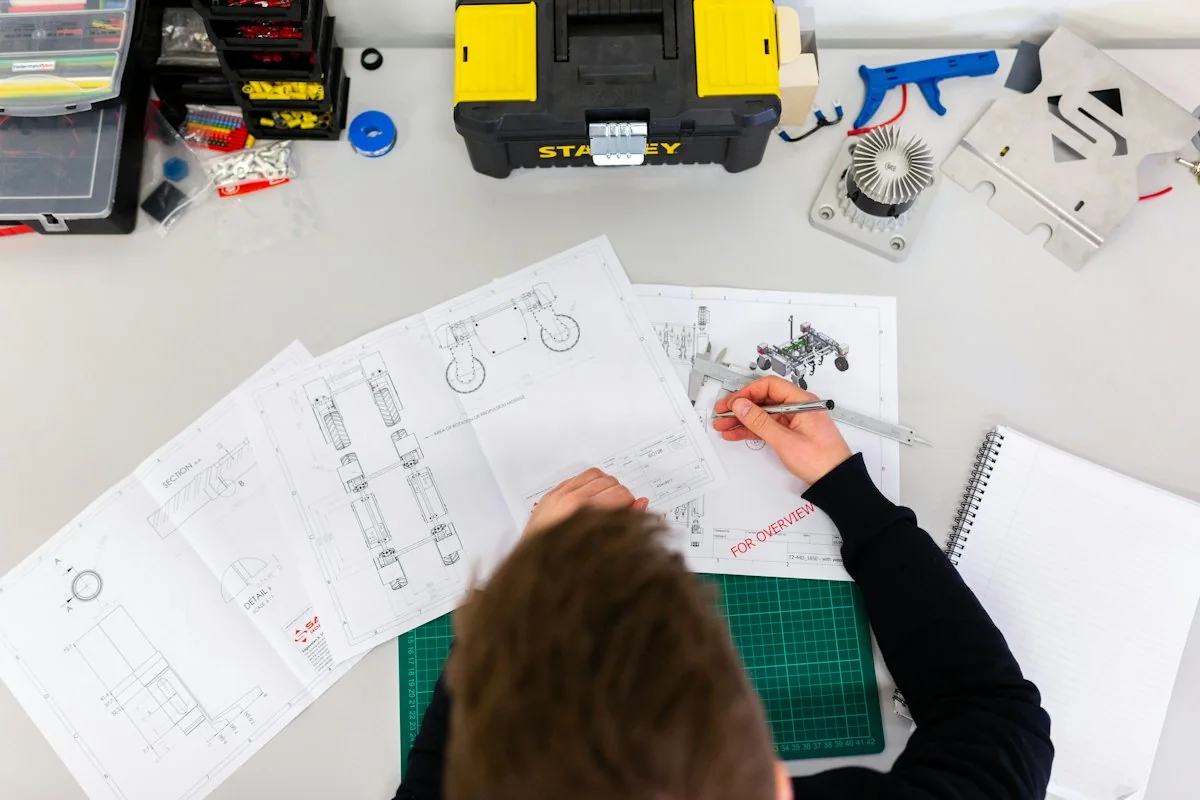
Temporary photo 01Measure the Starting Feed
Compare your largest pieces with the crusher feed limits before choosing any other stage.
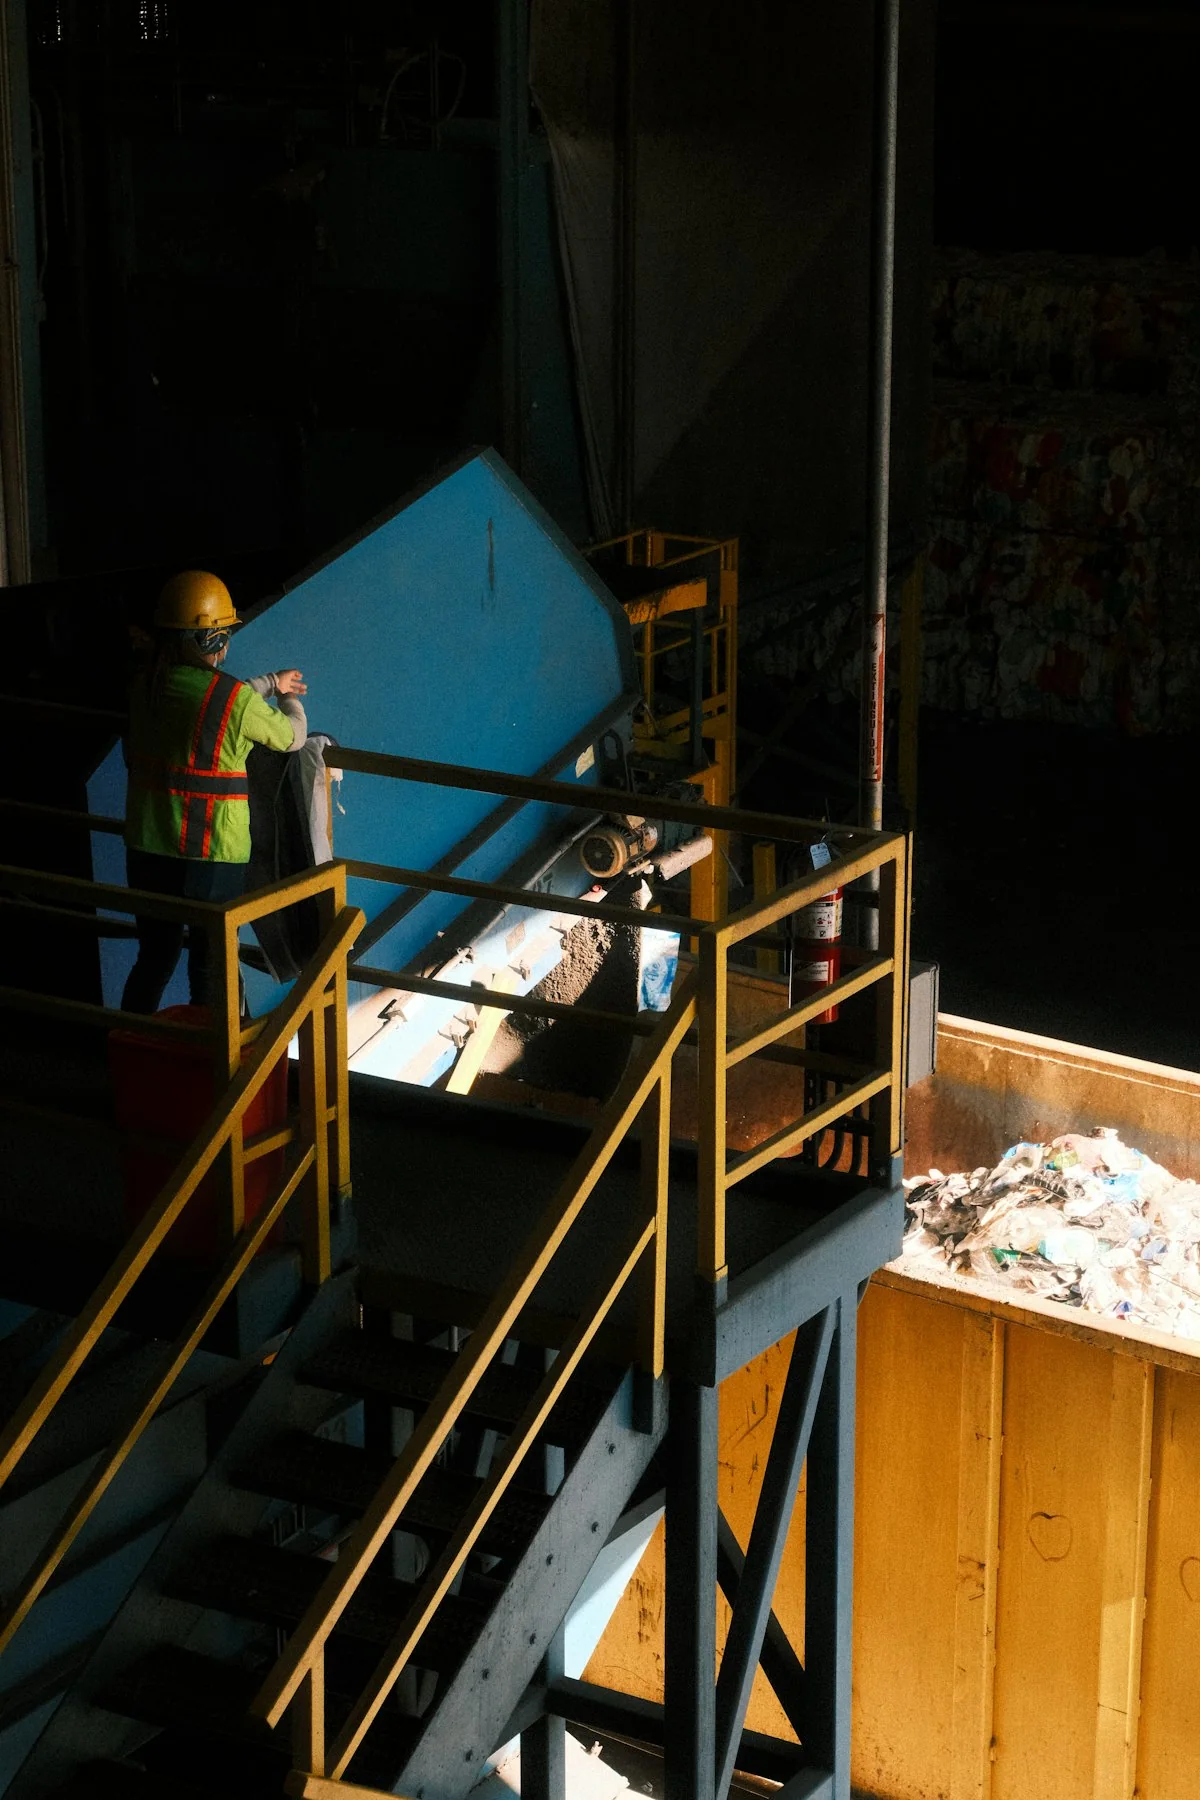
Temporary photo 02Check for Pre-Shredding
When feed is too large, tangled or bulky for direct crushing, review a shredder as the first stage.

Temporary photo 03Confirm the Final Output
If crushed pieces already meet your requirement, the line can end at the crusher without a pulverizer.
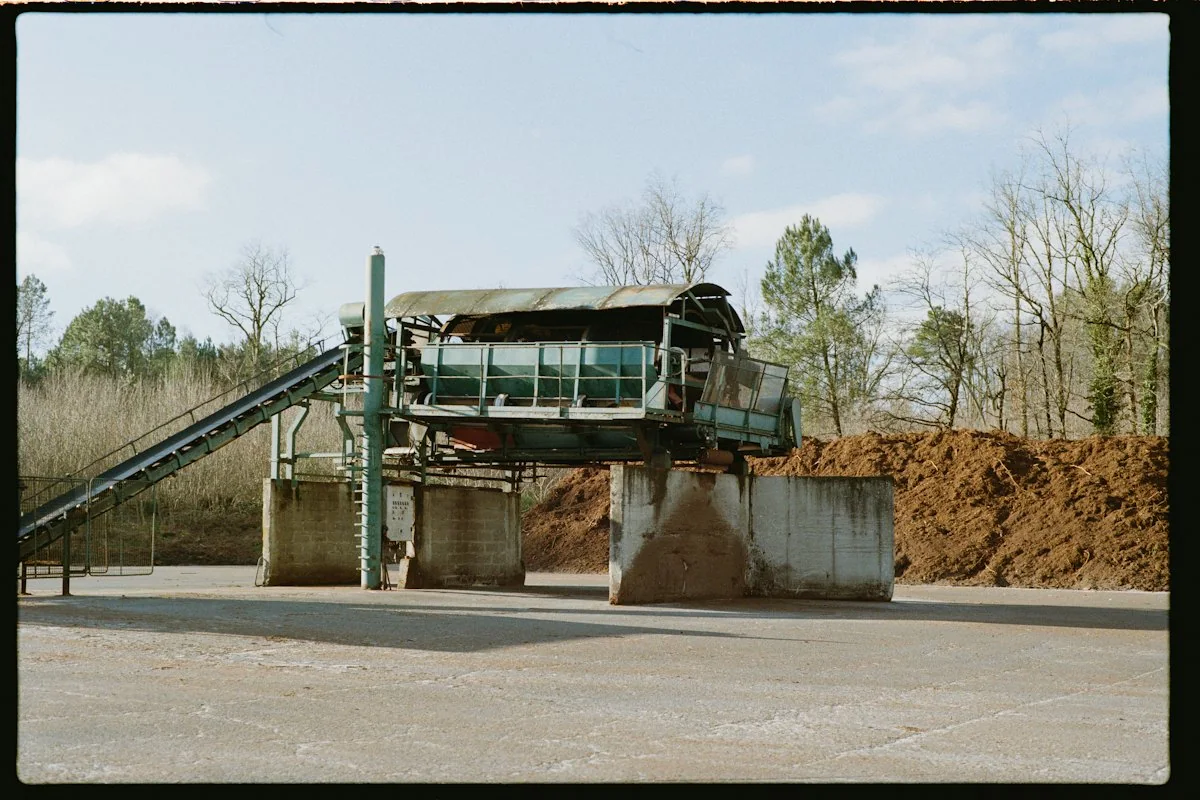
Temporary photo 04Review the Connected Line
When several machines are needed, discuss conveyors, buffers and controls as a connected line.
Configure Your Crusher
Discuss the hopper, feeding height, cutting arrangement, applicable screen and discharge connection around your material flow. Include electrical requirements and upstream or downstream equipment before the final configuration is selected.
Temporary photo Hopper & Feeding
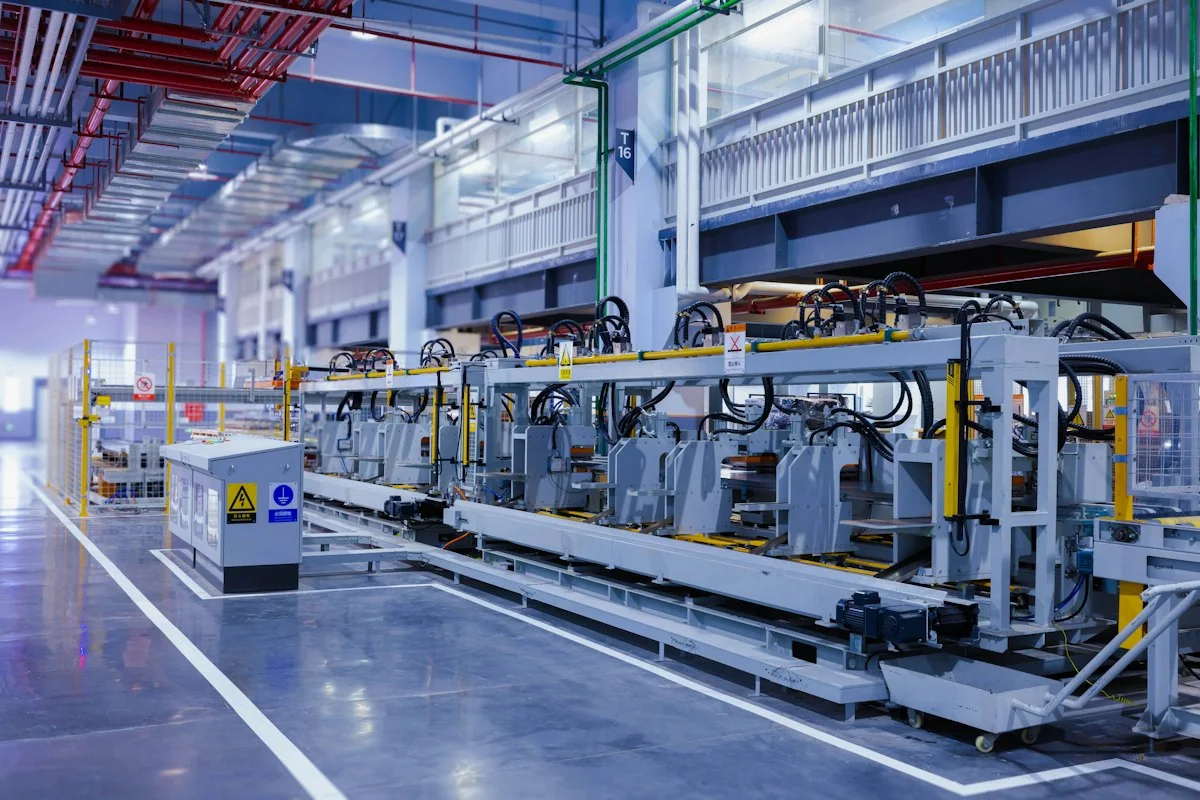
Discuss hopper shape, feeding height and whether manual, conveyor or forced feeding suits your material flow.

Temporary photo Cutting & Screens
Review the rotor and blade arrangement and the screen options that match your output size and material.
Temporary photo Discharge Connection
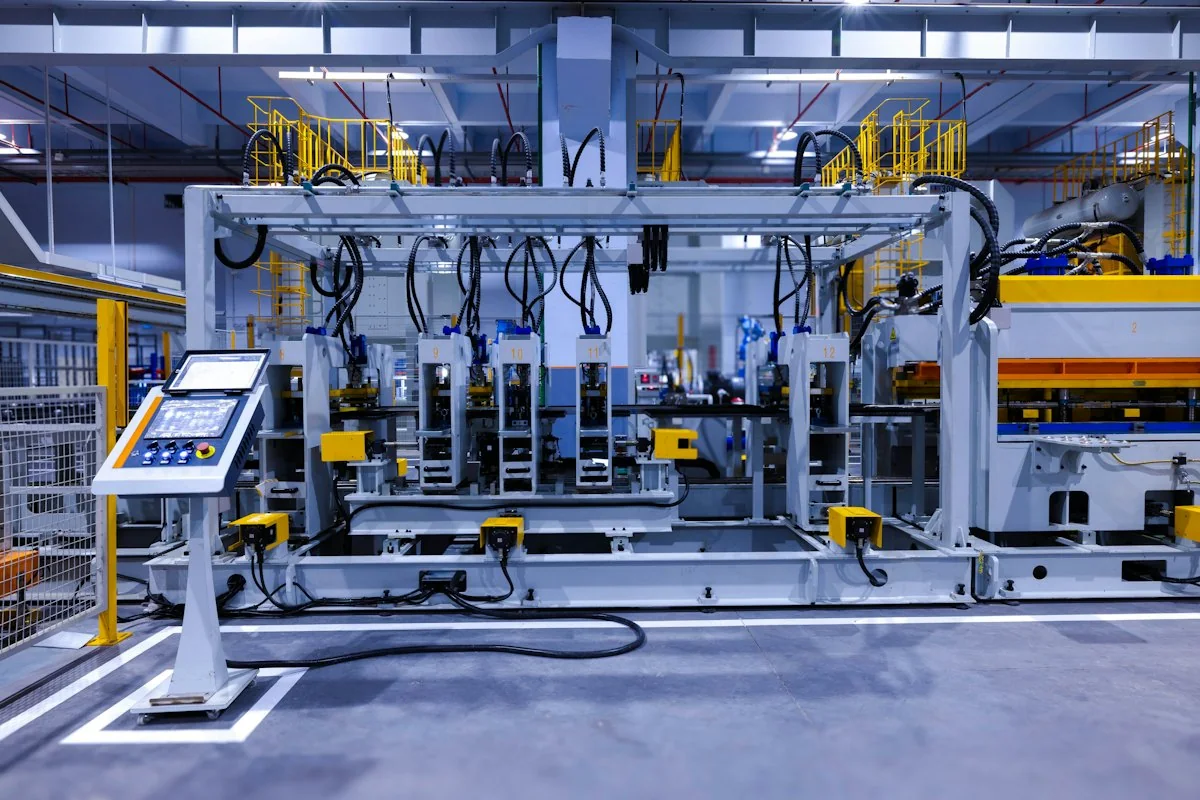
Agree how crushed material leaves the machine, whether by gravity, conveyor or blower, and how it joins your next stage.
Plan Wear-Part Support
Identify the blade and screen arrangements before selecting the machine. Clear part references make it easier to discuss replacements later.
Temporary photo Blade Arrangement
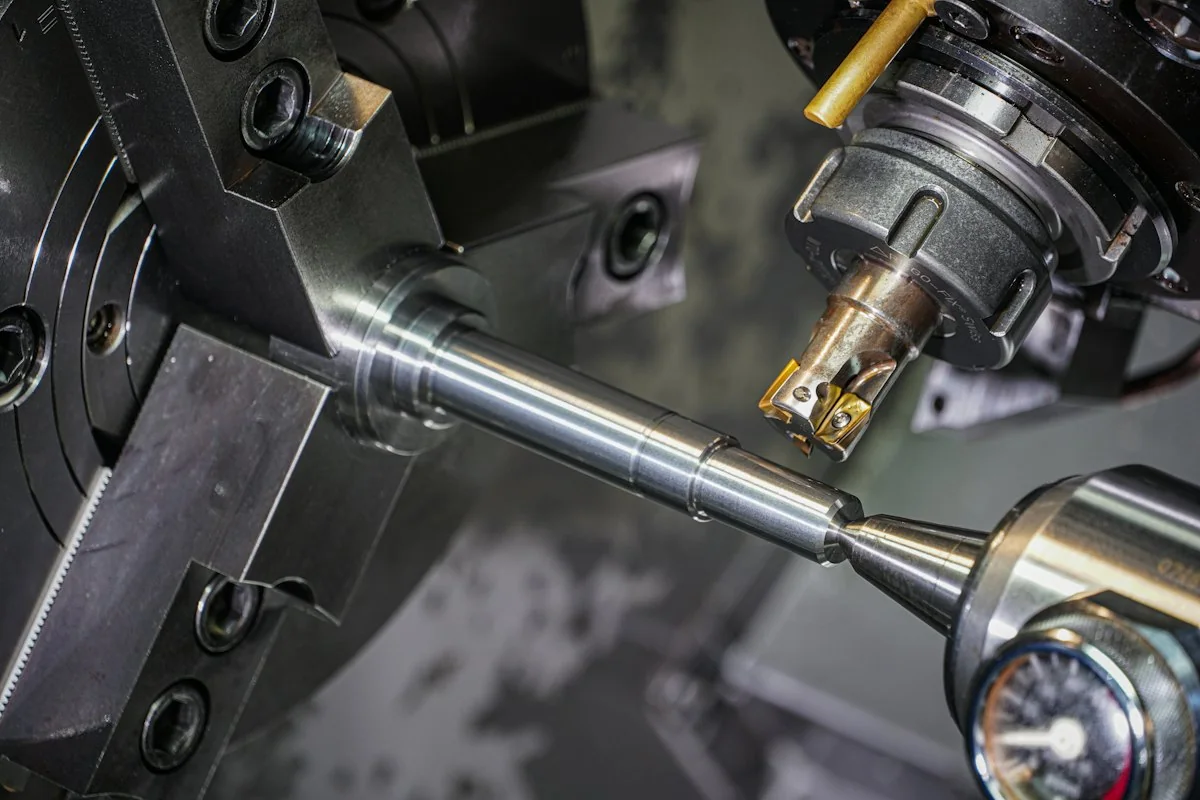
Record the rotor and fixed blade layout, blade count and mounting method, so replacements can be matched.
Temporary photo Screen Details
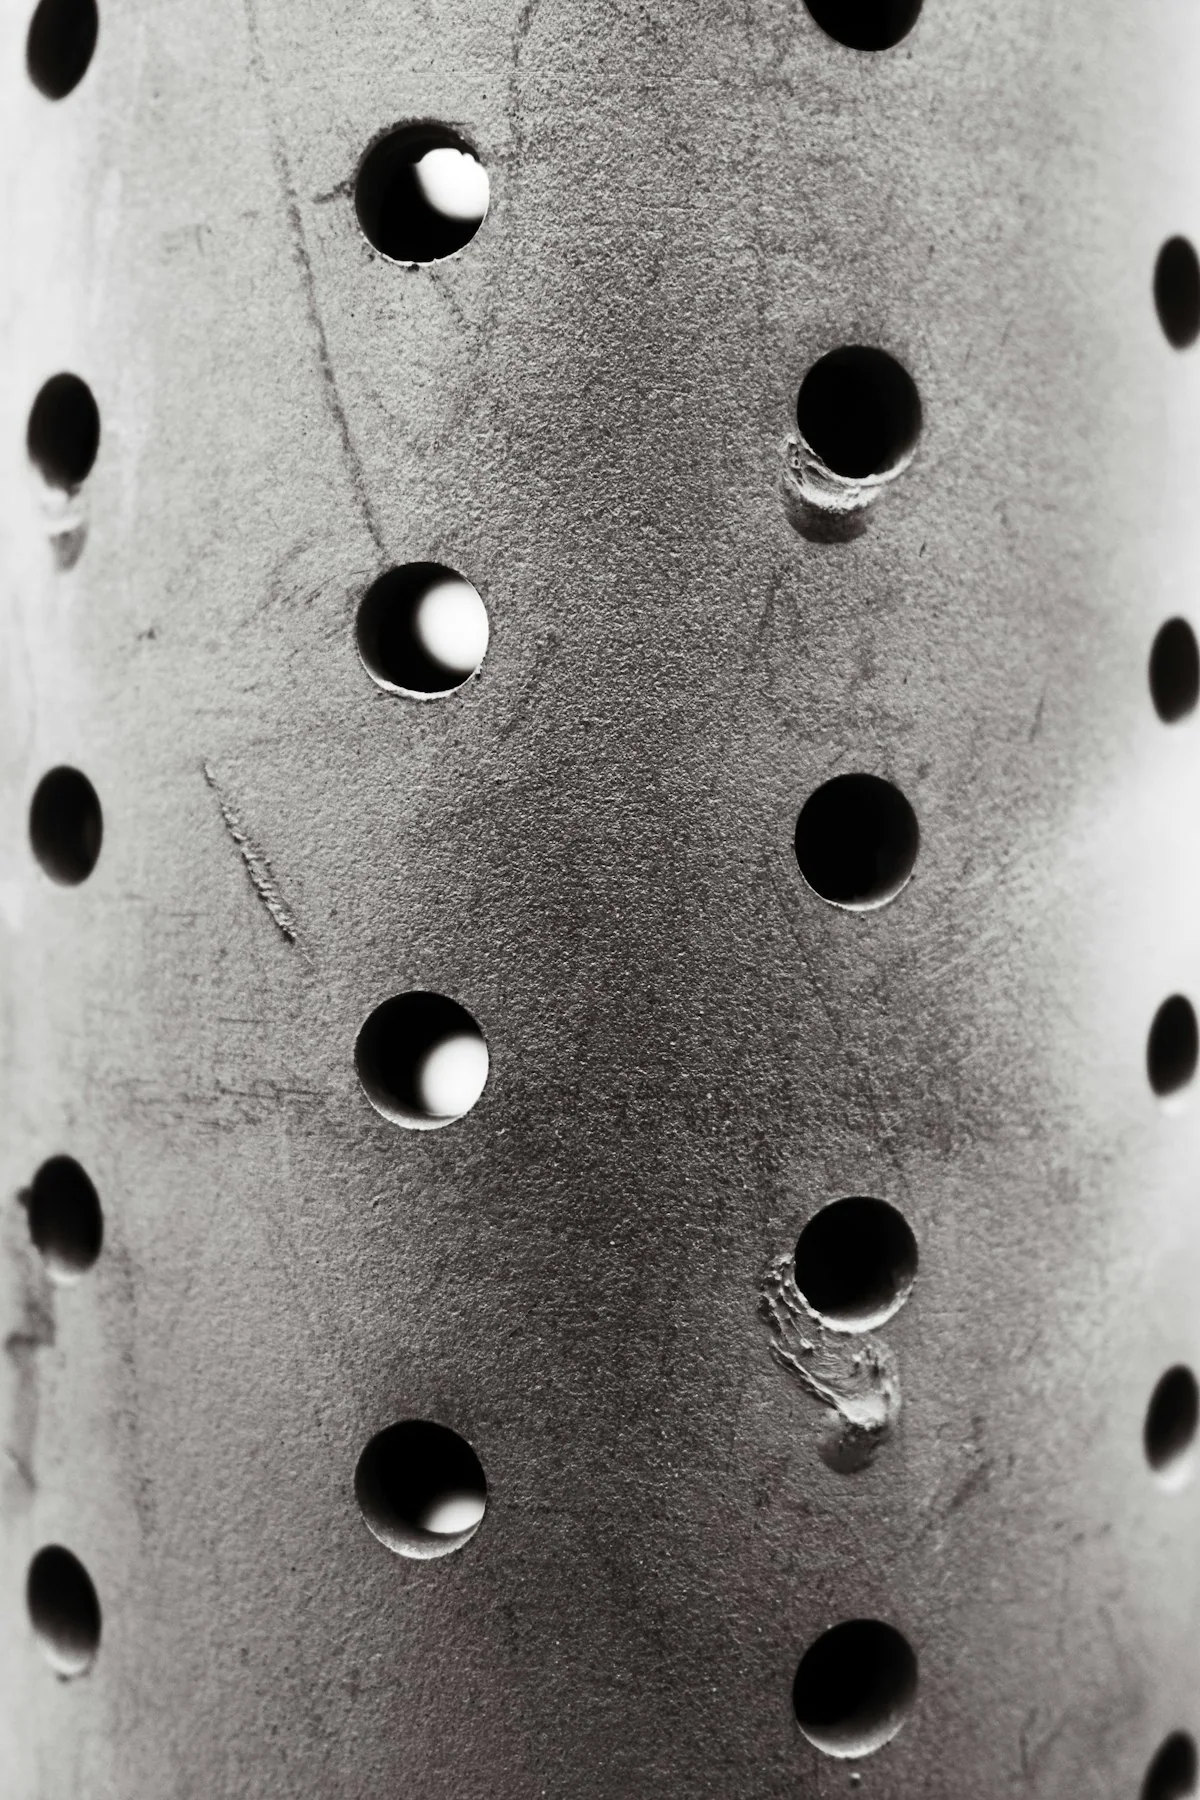
Note the screen hole pattern, thickness and fitting method used for your output size.
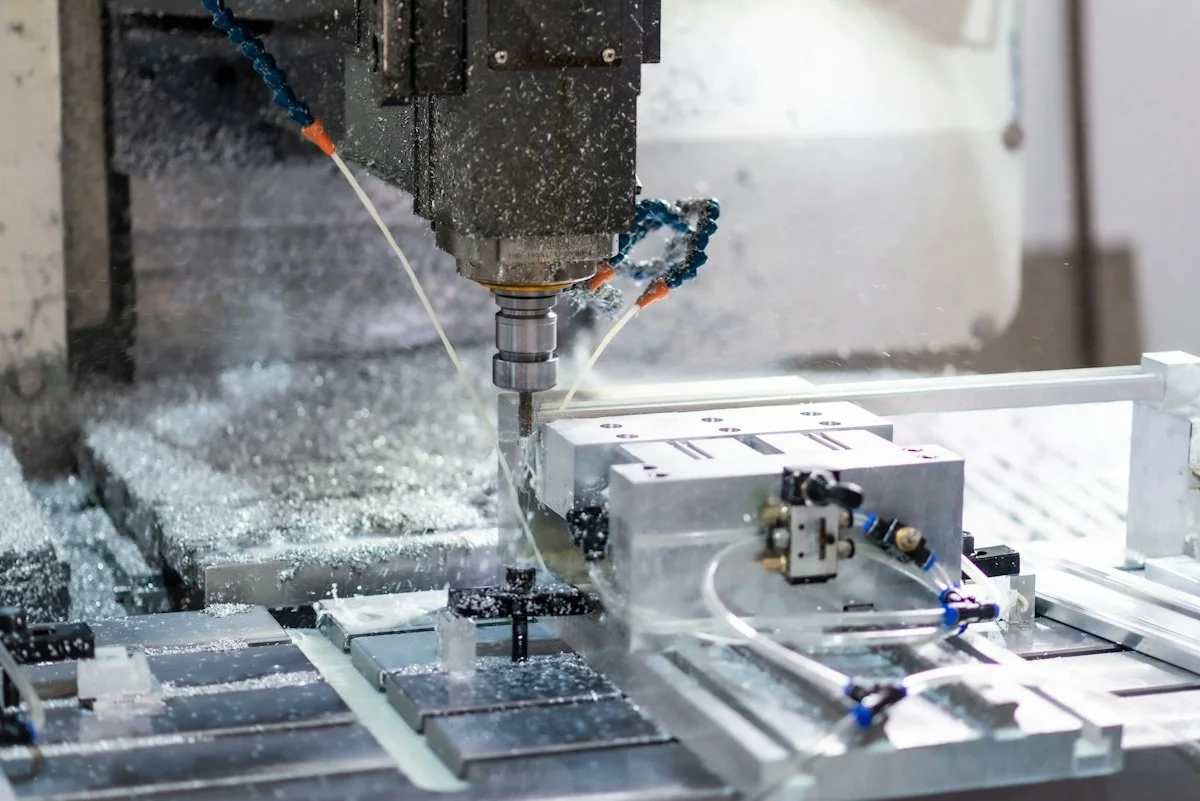
Temporary photo Replacement Access
Check how blades and screens are reached for changing and adjustment before choosing the machine.
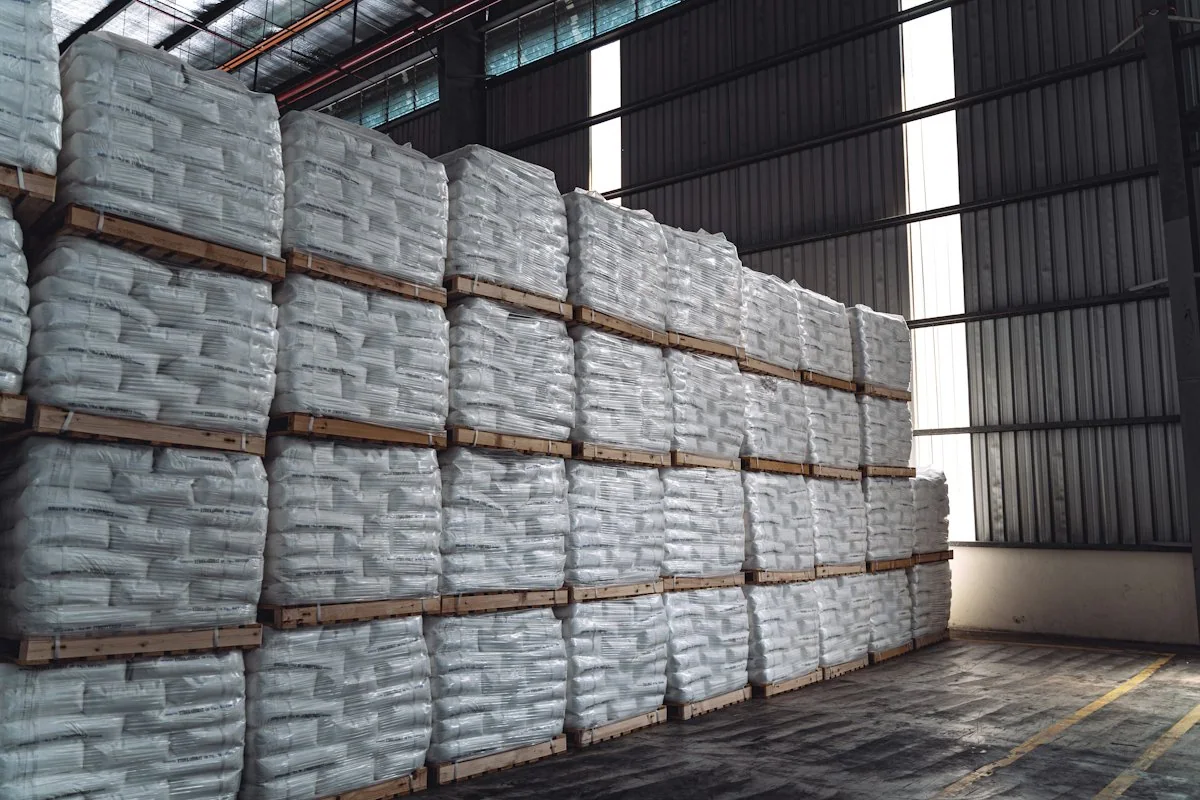
Temporary photo Part References
Keep drawings or part references from the start, so later orders can be matched without guesswork.
From the Factory
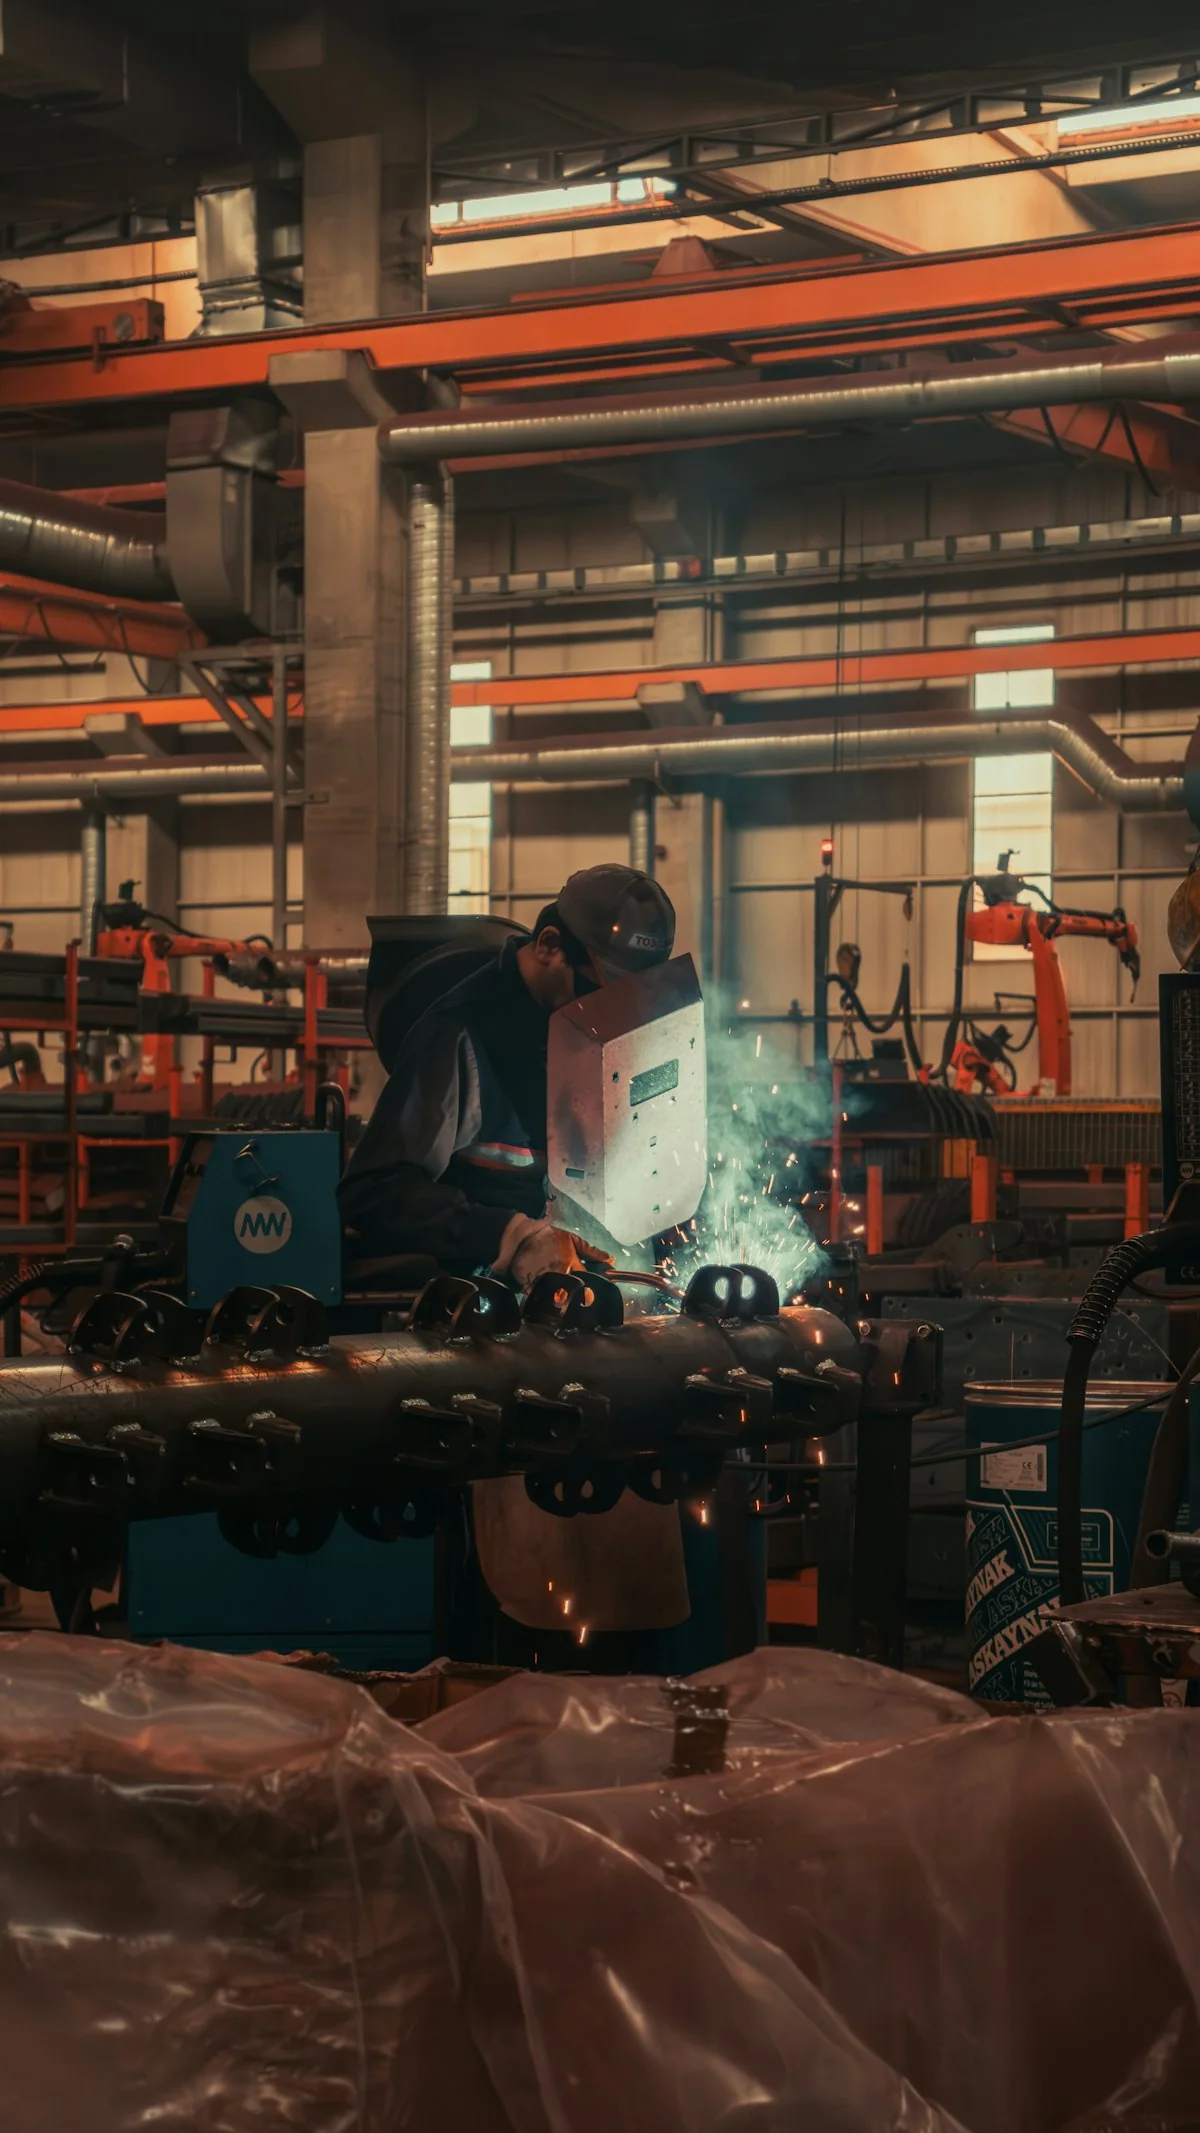
Connect your equipment or part request with the factory team handling the specification. Use relevant manufacturing, assembly or inspection images to review the proposed build and clarify the records required for your order.
Ask which build stages you can review for your order, from fabrication to final inspection. Where parts are sourced rather than made in-house, ask for that to be stated so the images reflect the actual supply.
Request Assembly Photos
Ask for photos of the selected series during assembly, showing the rotor, chamber and screen fitting.
Agree Inspection Records
Confirm which checks, test runs or measurement records will accompany the machine before shipment.
Clarify Your Order Contact
Confirm who handles your specification, drawings and part references through the order.
Discuss My Configuration
Send your feed photos, required output and site details to discuss a crusher configuration.
FAQ
What separates light-duty and heavy-duty models?
Use the published series specifications and confirmed application limits. Motor power alone does not establish whether a machine fits a particular feed or duty.
Is a pipe crusher required for all pipe waste?
Not necessarily. Diameter, length, wall thickness and the planned feeding method need to be checked against the model.
Can a crusher produce powder directly?
Do not assume that a crusher meets a powder specification. Review a pulverizer or a connected process when powder is the required final result.
Should I search for a crusher or a granulator?
Use the equipment function and feed material to identify the relevant product. In a confirmed plastics application, granulator can be an additional useful term; it should not be confused with pelletising equipment.
Can this be customized for my process?
Yes. Describe the configuration or specification you need, together with the material or machine reference. Feasible options, drawings where required, and the final supply scope are confirmed before production.
Find the Right Equipment
Tell us what goes in, what you need out and any site requirements. Include the details you already know; you do not need a model number to start.
Include the details you already know. You do not need every specification to start.
What to Include
Use the details you already know. A model number is not required to begin.
1. YOUR MATERIAL
Material name and condition; largest starting dimensions; a photograph when available.
Describe thickness, mixed shapes or other details that affect feeding.
2. YOUR OUTPUT
Required powder, smaller pieces or regrind; the next process; the output specification and its measurement basis when known.
State the desired hourly throughput as a target, not a confirmed machine result.
3. YOUR SITE
Country/region; known power supply; available floor space and height; existing equipment; relevant cooling or nitrogen arrangements.
4. YOUR CONFIGURATION
Standalone machine, replacement machine or connected line.
Describe requested changes to feeding, discharge, cooling, controls, layout or connections.
7. WHAT TO AGREE IN THE PROPOSAL
Selected equipment; standard items; options; items supplied by others; relevant test/acceptance basis; documents; support and delivery responsibilities.
Please do not send unnecessary personal documents, passwords or unrelated confidential files.