China Heavy Duty Crusher Factory
Prepare demanding feed for the next processing stage with a heavy-duty crushing setup. Match the chamber, rotor, feeding method and wear parts to your material, including pre-shredding only where the feed requires it.
On This Page
Describe the Demanding Feed
Send photographs of the largest and thickest pieces, not only the average feed. Include the material grade, any reinforcement or foreign objects and the way material reaches the machine.
Demanding feed is easier to review when the photos show scale. Place a rule or a known object beside each piece, show the thickest section clearly and include examples that already cause problems in your current process.
- Photos of the largest and thickest pieces with a rule
- Overall dimensions plus wall thickness or solid-section size
- Material grade and whether it is filled or reinforced
- Known foreign objects, such as metal inserts or stones
- How material arrives, by hand, conveyor or loader
- Whether the feed is clean, wet or contaminated
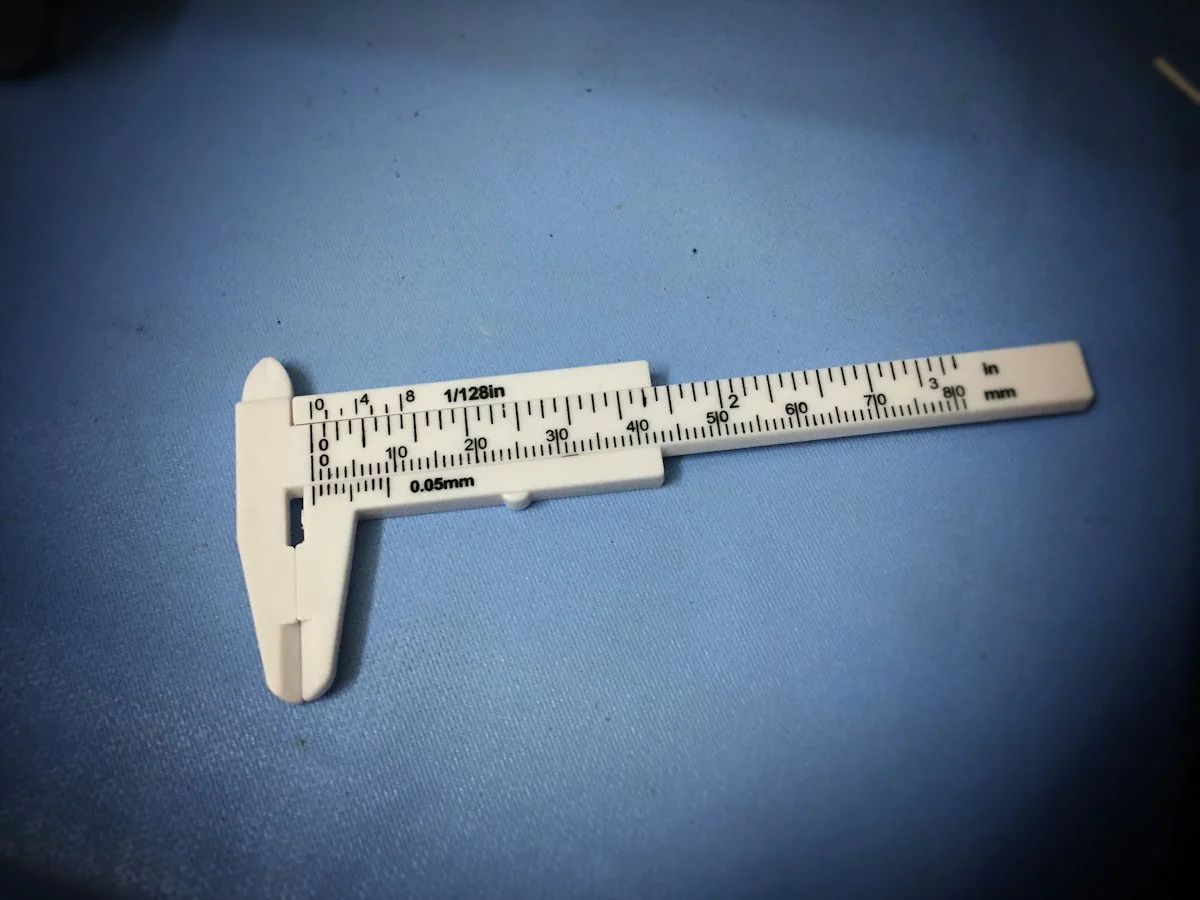
Reinforced or metal-containing feed needs its own review, so do not rely on another supplier's example to judge suitability.
Check Feeding Requirements
Compare your feed dimensions with the proposed opening and cutting arrangement. A wide opening alone does not establish that every item can be processed directly.
Feeding decisions depend on how a piece meets the rotor, not only on whether it passes through the opening. Show how your pieces are usually presented and which ones you already cut or break before feeding today.
Largest Piece Orientation
Explain whether long or bulky pieces can be turned to enter the hopper or always arrive in a fixed position.
Rotor Engagement
Ask how the proposed rotor and cutting arrangement are expected to handle pieces of your shape and thickness.
Loading Method and Rate
Confirm whether pieces will be loaded by hand, by conveyor or by another device, and at what rate.
Preparation Before Feeding
Where pre-cutting or pre-shredding is proposed, ask which pieces it applies to and why.

Compare Available Models
Review rotor or cutting configuration, installed power, feed limits and documented duty information. Compare throughput only where the material and output basis are stated.
Read each column against your own feed record. Where a model card does not state a value, ask for it with its basis rather than comparing an estimate.
Feed Requirement
Check the stated feed limits against your largest and thickest pieces, not your average feed. Ask how these limits were defined for the material in question.
Chamber
Compare the chamber size and shape with the bulk of your pieces. A chamber that suits the dimensions may still need review for heavy, solid sections.
Rotor
Review the rotor type, blade arrangement and how the blades are mounted. These shape how the machine handles thick feed and which wear parts you will need.
Power
Consider installed power alongside the feed, rotor and duty information rather than in isolation. Confirm the electrical requirement against your site supply.
Pre-treatment
Check whether the model expects pre-cut or pre-shredded feed for your material. Where it does, include that step in your process and supply discussion.
Discuss My Configuration
Share your thickest feed pieces and running schedule to compare these models on the same basis.
Review the Process Duty
Discuss the expected running schedule, feeding pattern and downstream requirement. Identify the controls and protective features included in the proposed build rather than assuming they are standard.
Duty describes how the crusher will be used day to day. Describe normal running, heavier periods and what happens to the output, so the proposed build can be reviewed against your real process.
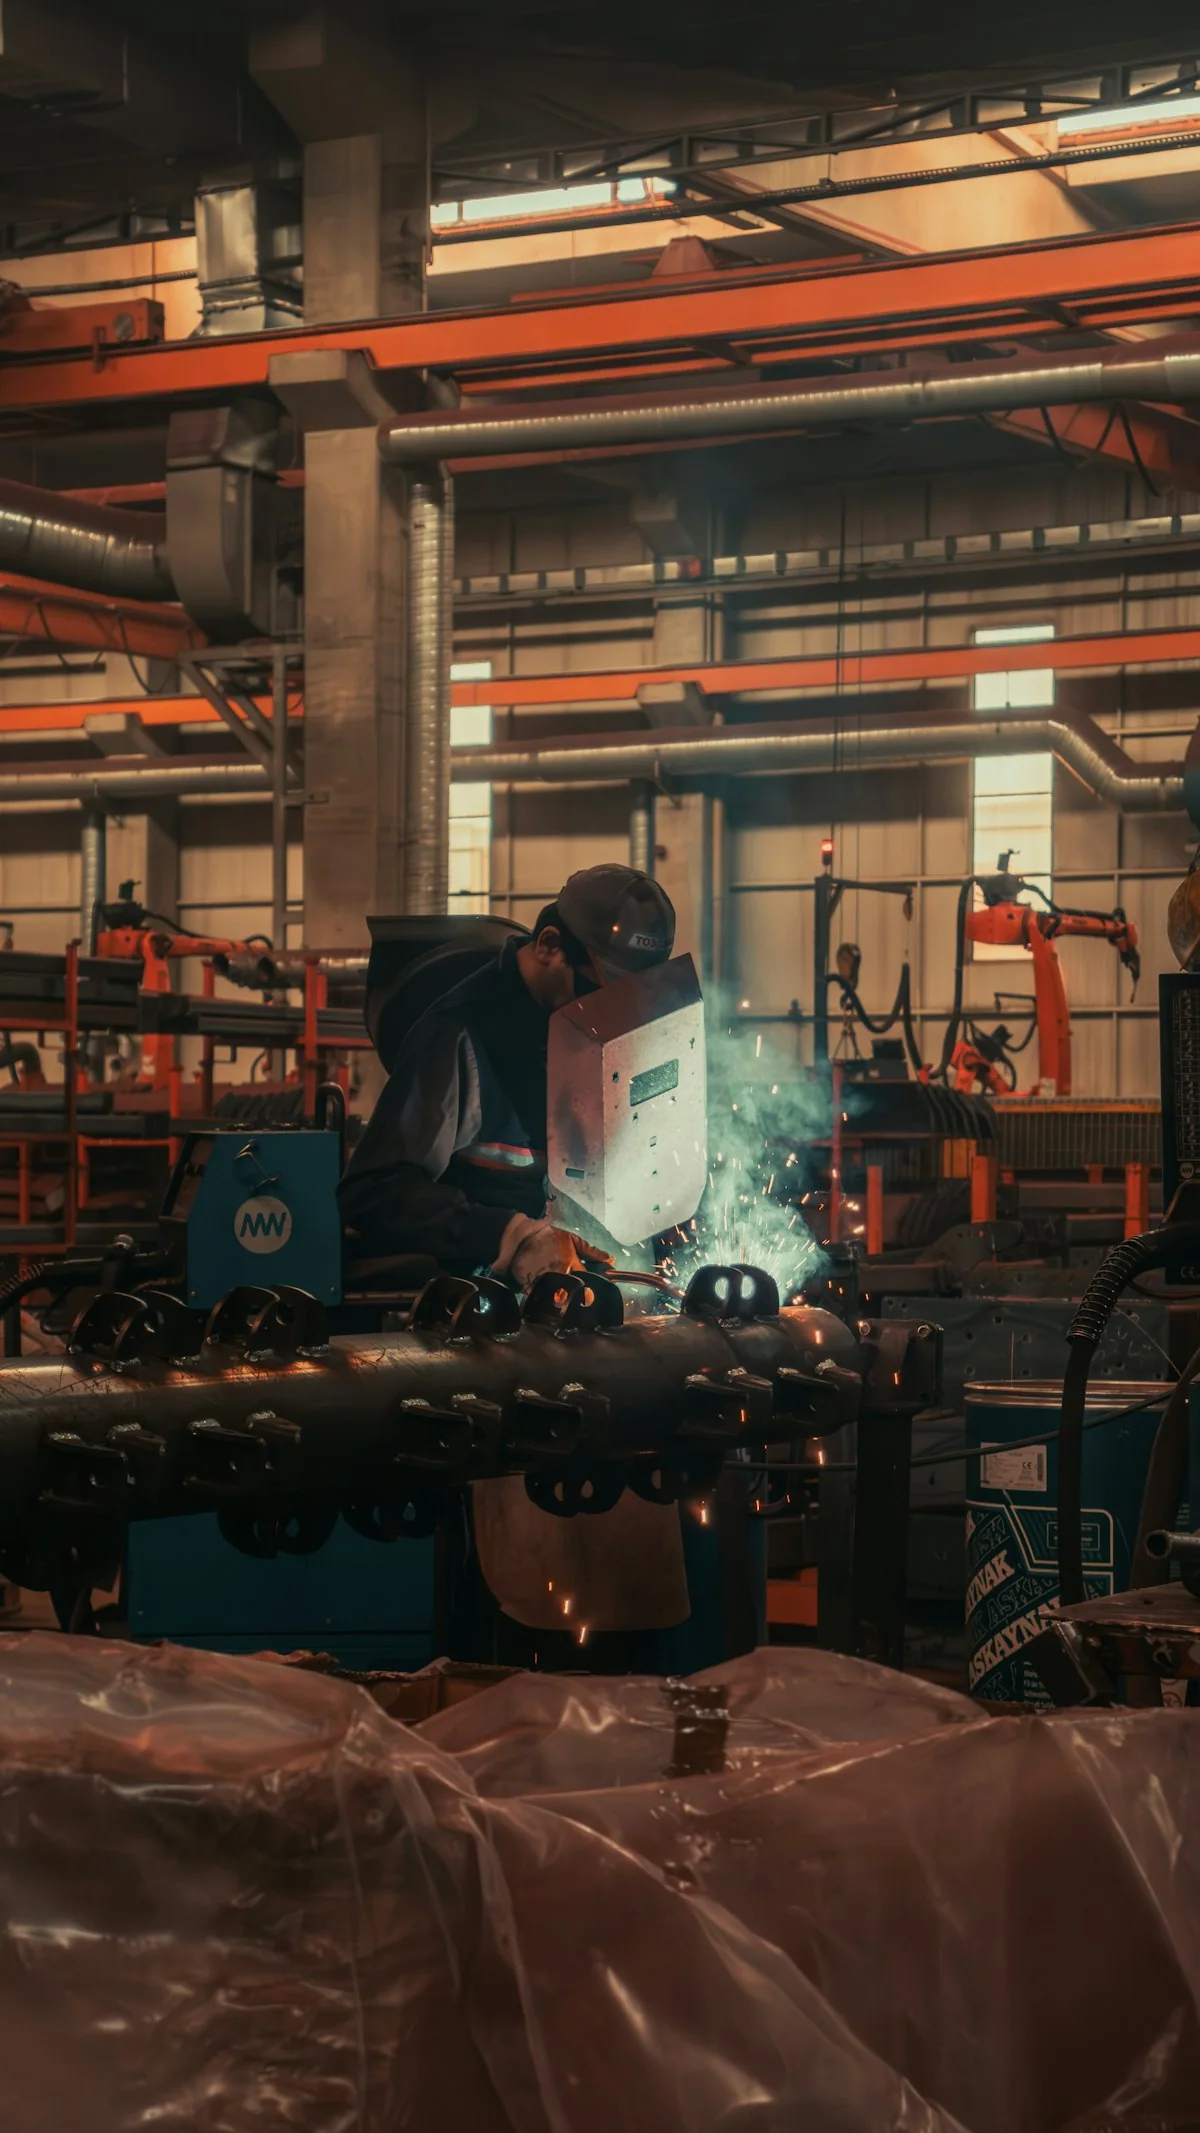
Temporary photo Running Schedule
State the hours per day and days per week the crusher is expected to run. Include planned stops for cleaning or blade changes.
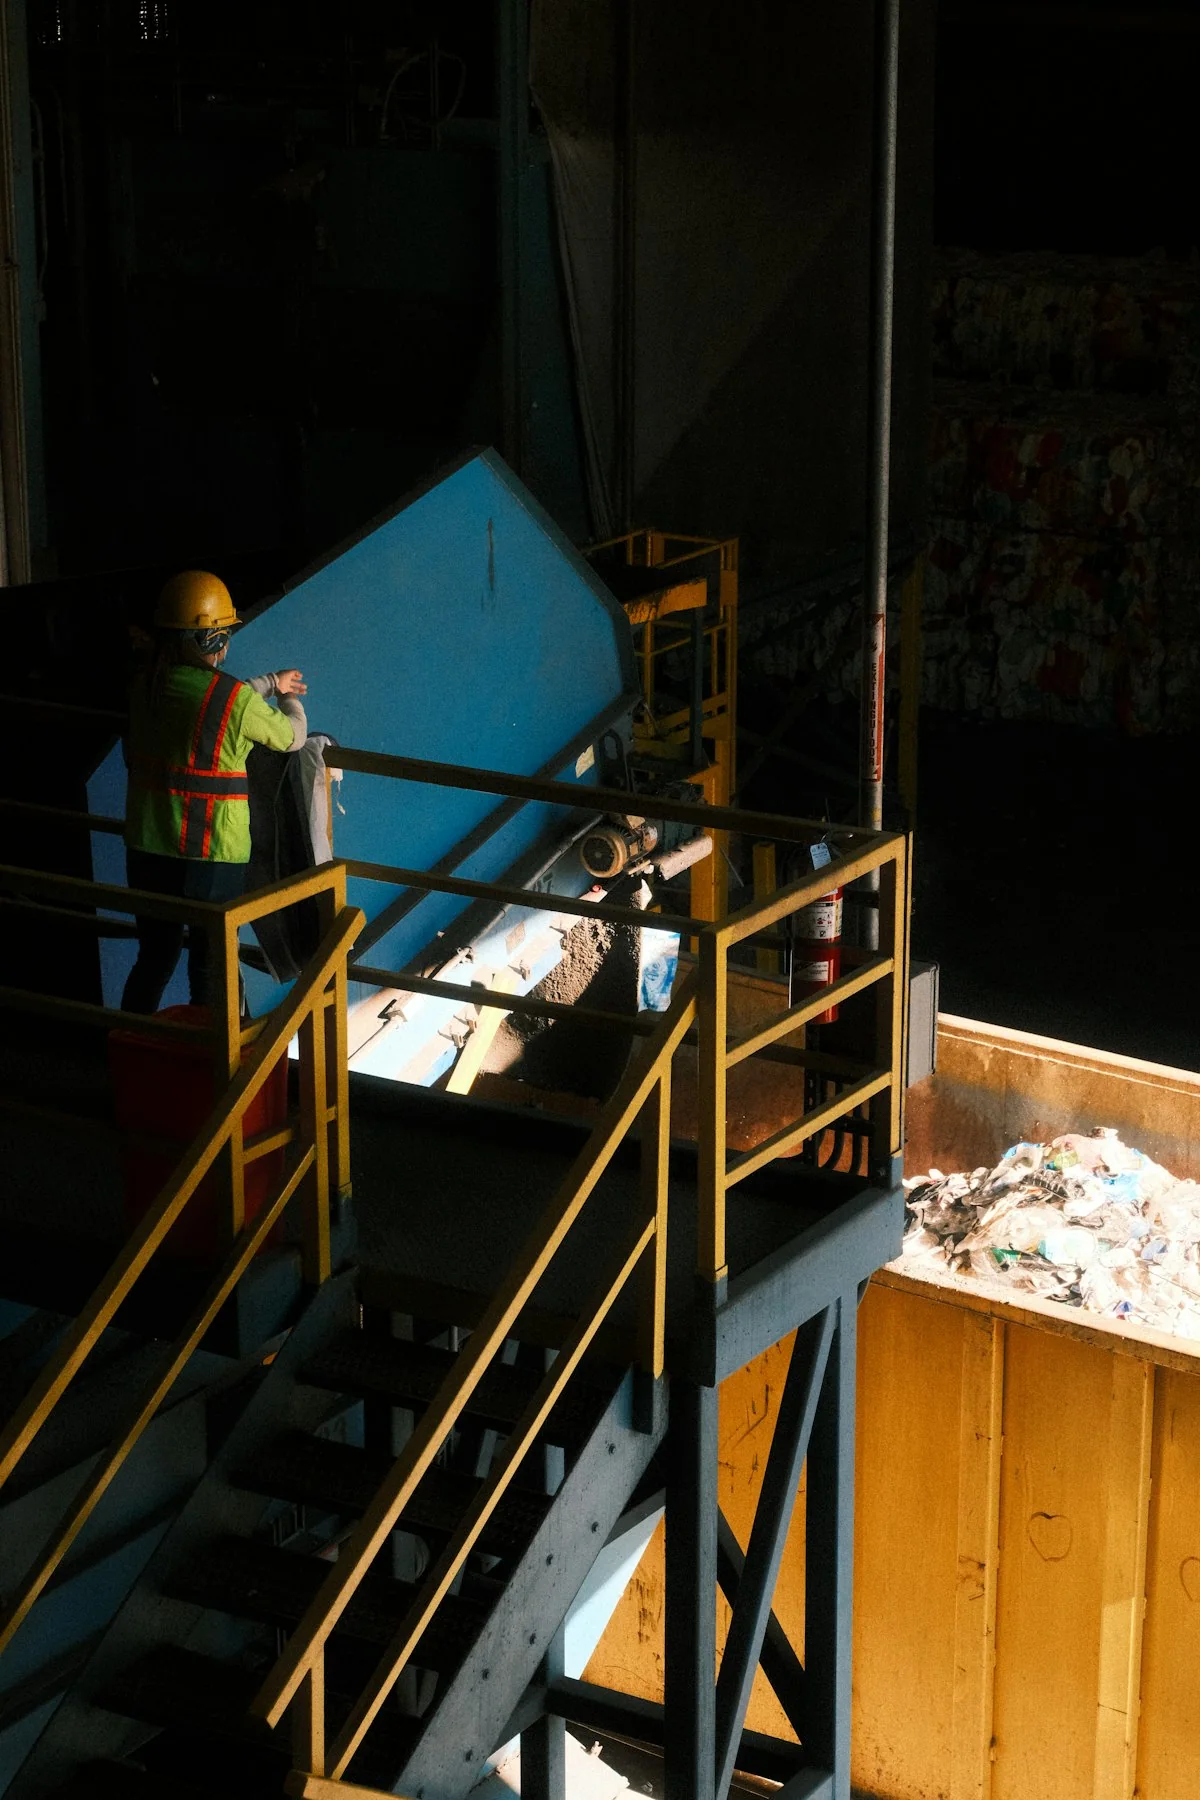
Temporary photo Feeding Pattern
Explain whether feed arrives steadily or in heavy loads followed by pauses. Uneven feeding affects how the hopper and feeding device should be discussed.
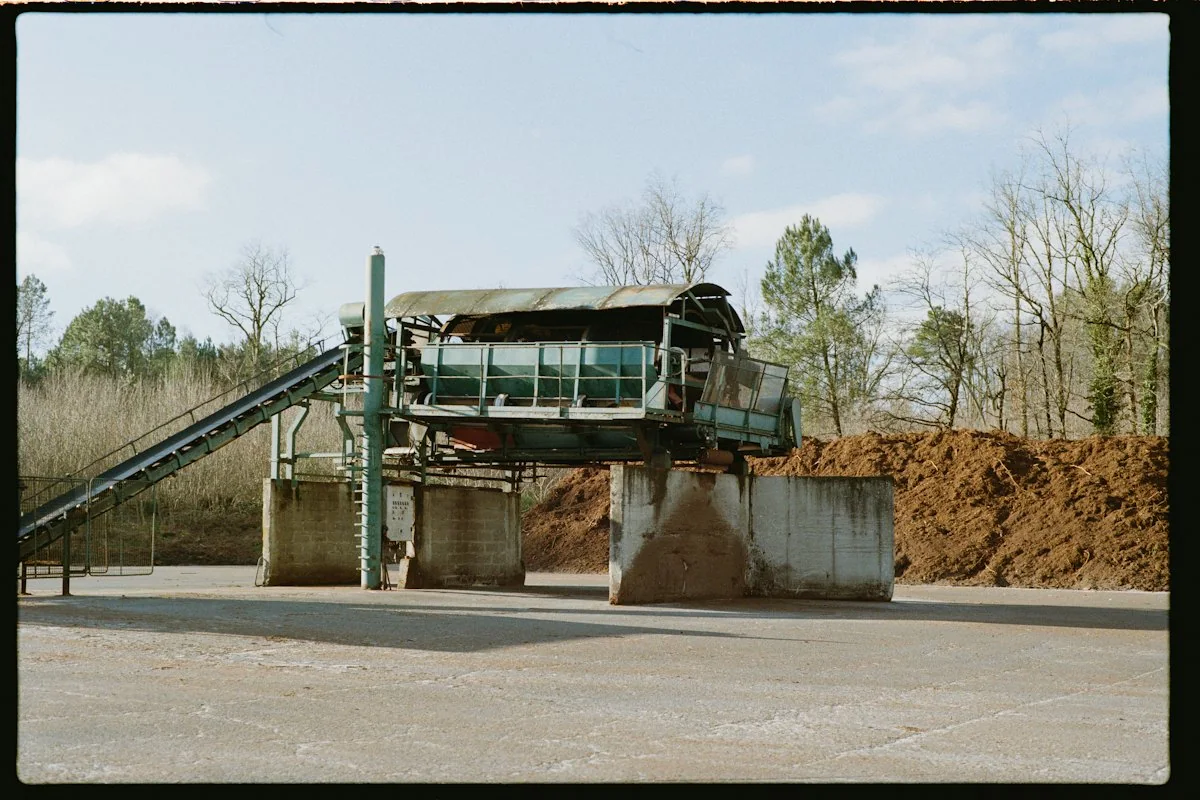
Temporary photo Downstream Requirement
Name the equipment or process that receives the output and describe what it needs from the material.
Temporary photo Controls and Protection
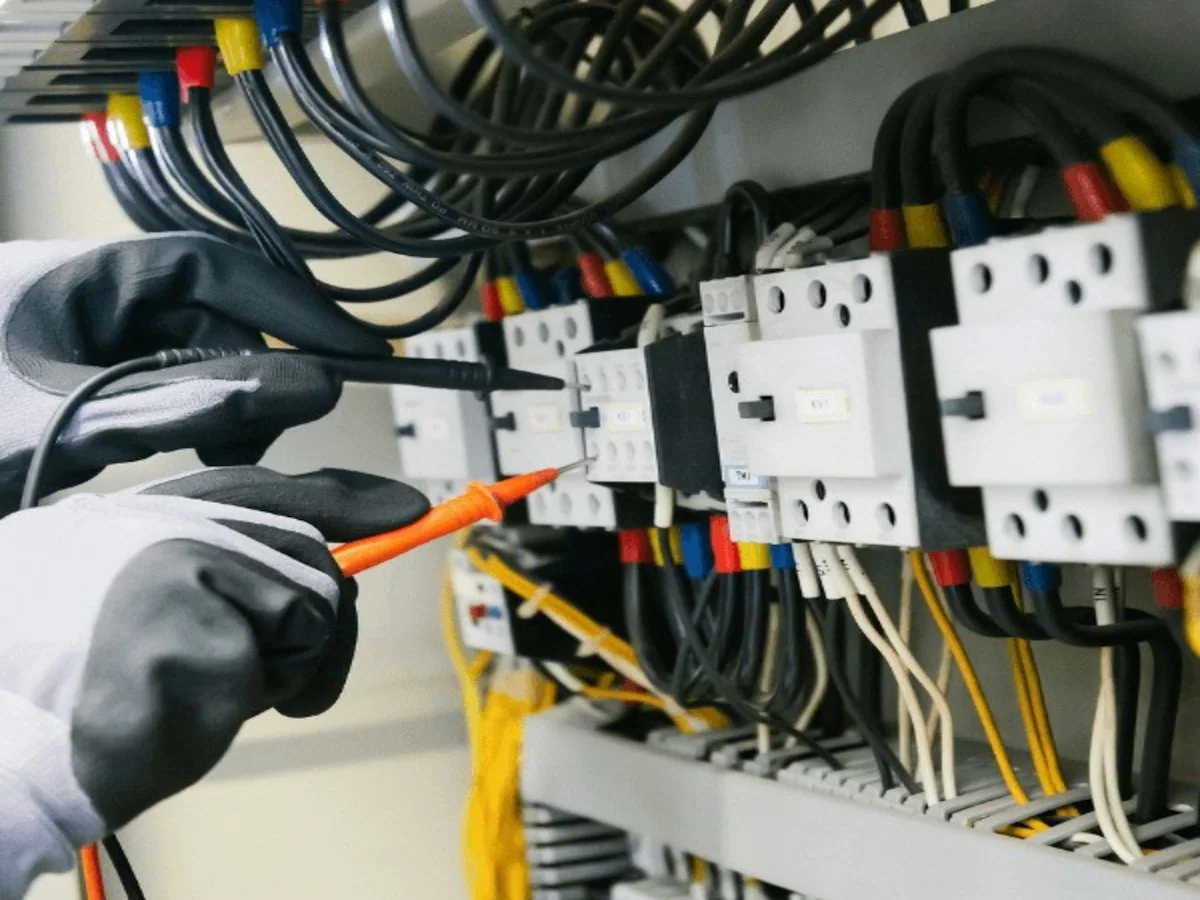
Ask for a written list of the control and protective functions in the proposed build. Check that each item appears in the quotation.
Feed Geometry
A large hollow part and a thick solid lump can create very different demands. Include wall thickness or solid-section information with overall dimensions.
Continuous Flow
Check how the material reaches the crusher and how the output leaves it. A motor rating alone does not describe the performance of the connected process.
Wear and Access
Discuss cutting tools, screen access where applicable and the route for replacing wear parts. These affect how the equipment fits into your maintenance plan.
Plan Wear and Maintenance
Identify the blades, screens and access required for the selected model. Ask which wear-part specifications and replacement references are available before the equipment is ordered.
Wear planning is simpler when it starts before the order. Record the parts and references alongside the machine specification, so replacement orders and maintenance stops can be planned around your production.
Temporary photo 01Identify the Wear Parts
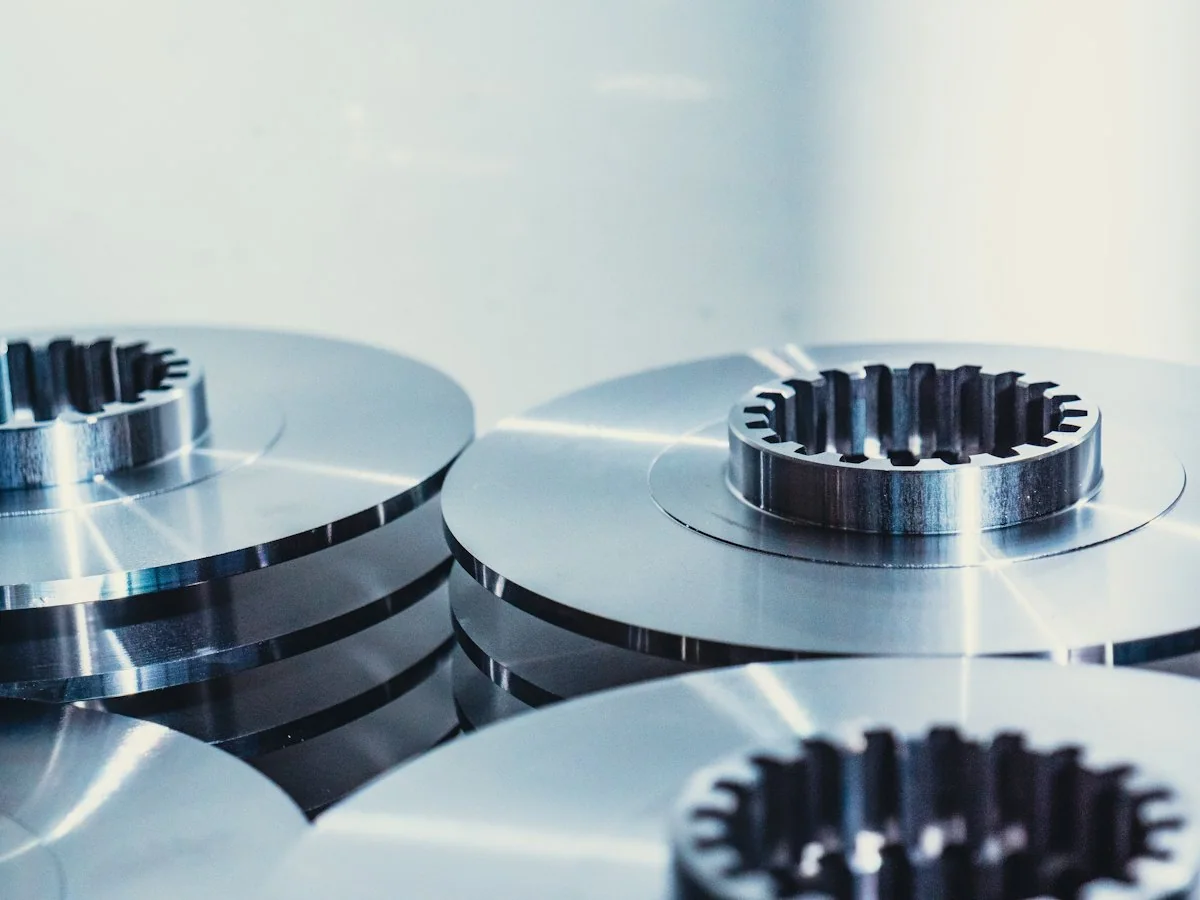
List the blades, screens and other parts that wear on the selected model. Ask for close-up photographs of how they are installed.
Temporary photo 02Request Part References
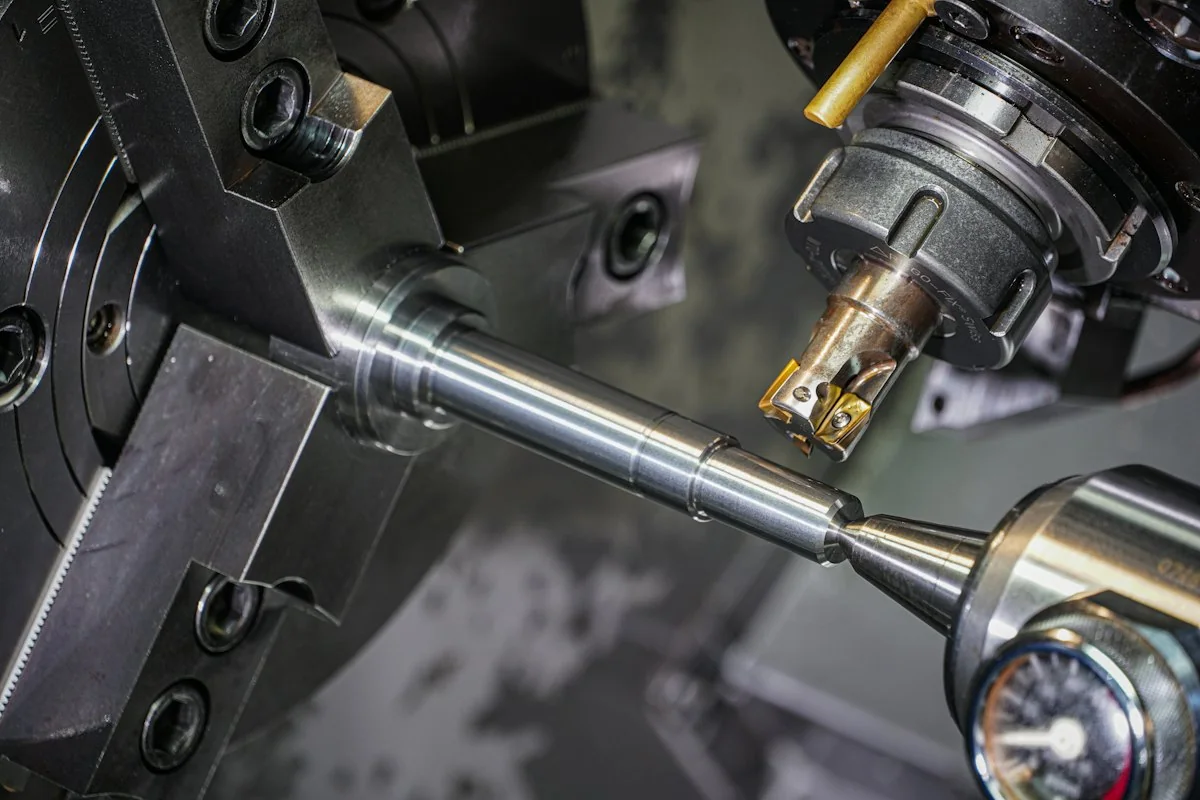
Ask which specifications and replacement references are available for each part. Keep them linked to the machine serial or model reference.
Temporary photo 03Review Replacement Access
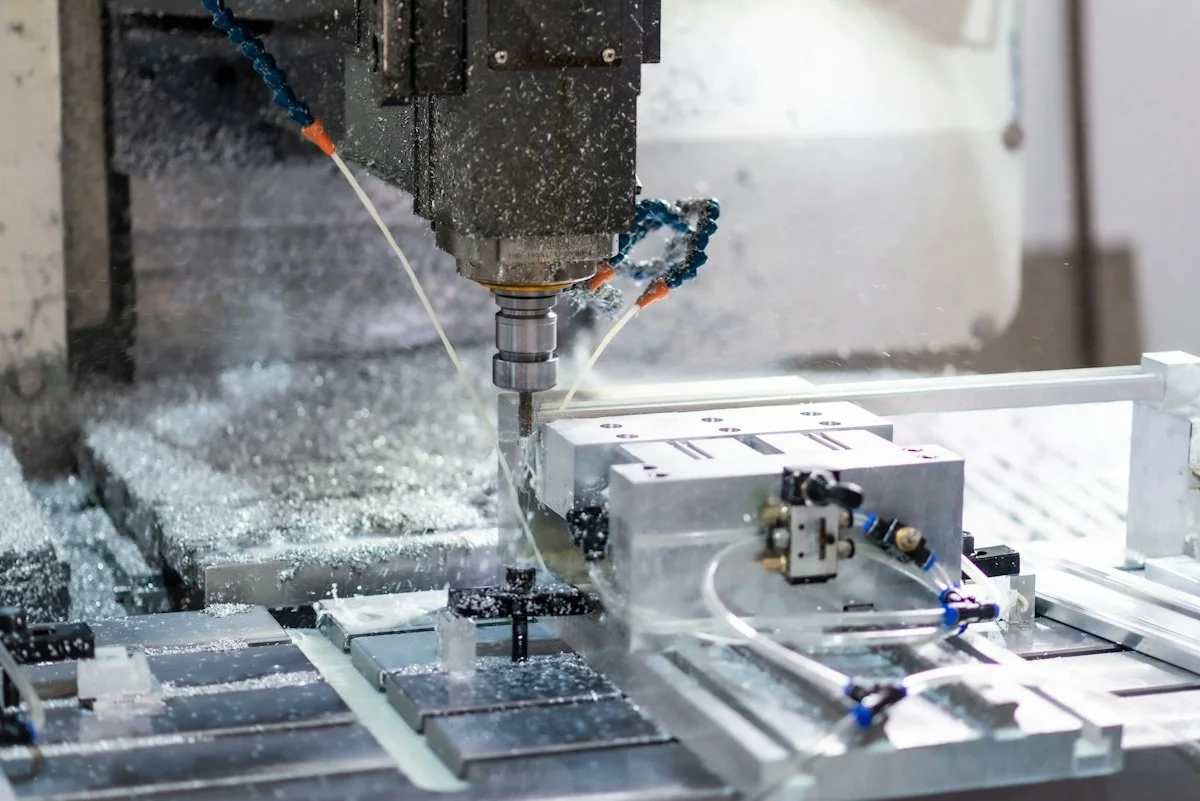
Check how the chamber opens and what clearance is needed to change blades or screens. Allow for that space in your layout.
Temporary photo 04Plan Spare Stock
Decide which parts to keep on site based on your running schedule and the time needed to reorder. Discuss this before the equipment is delivered.
Review a Two-Stage Route
A pre-shredder may be relevant when the starting feed cannot be handled as proposed by the crusher alone. Review the actual need and match the discharge of each stage.
Start by checking whether the crusher alone can accept your feed as proposed. Where it cannot, compare shredder options as a first stage and match their discharge to the crusher feed requirement. The complete material path, not a default line, should decide the route.

Single Shaft Shredders
Review this route when your feed needs a first reduction stage and you are comparing rotor and feeding options. Check any fitted screen and how the discharge meets crusher feed limits.
Double Shaft Shredders
Review this route when bulky feed needs primary reduction before it reaches the crusher. Check the cutter arrangement and whether the shredder discharge suits the crusher's feed requirement.
Discuss My Configuration
Unsure whether your feed needs a pre-shredder? Send photos of the largest pieces for a route review.
Configure for the Working Load
Discuss the rotor and cutting arrangement, wear-part specification, feeding system and discharge connection for your material. Consider any protection or enclosure requirements as part of the project scope rather than assumed standard features.
Temporary photo Cutting Arrangement
Discuss the rotor type and blade arrangement against your thickest and most demanding pieces. Confirm the proposed arrangement in writing with the model reference.
Temporary photo Wear Parts
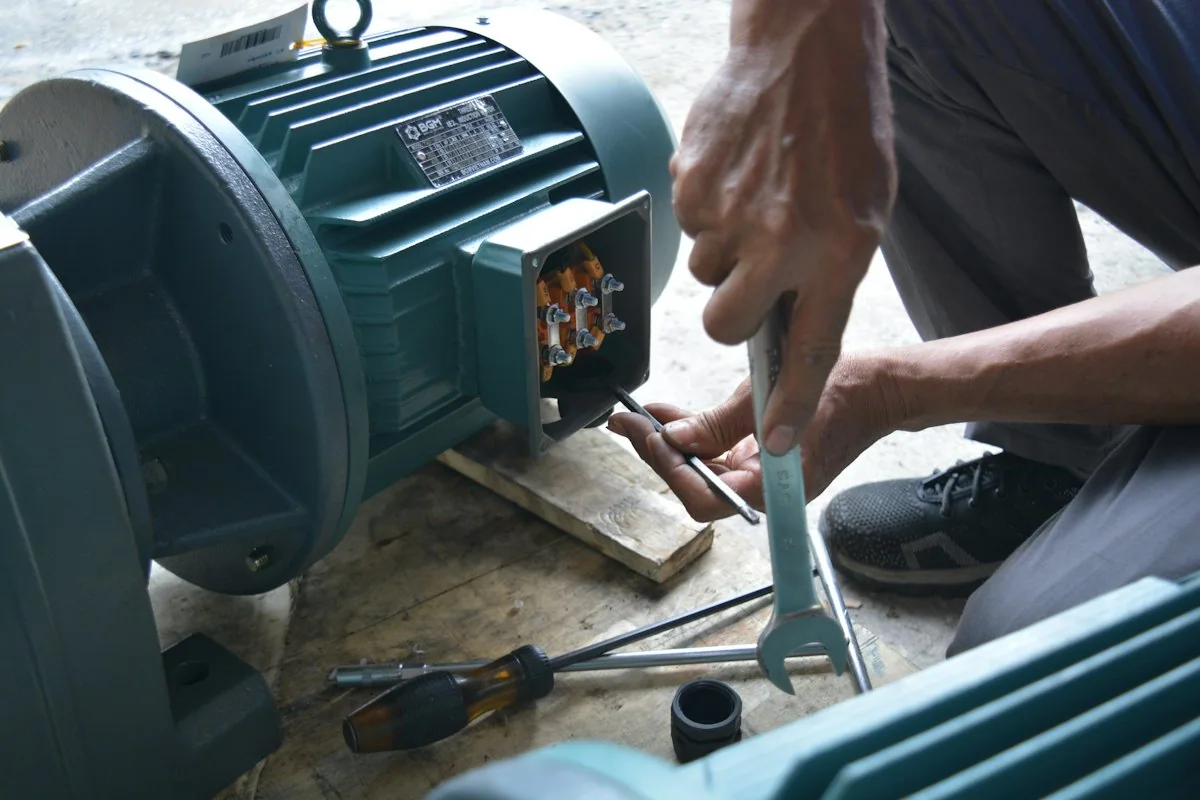
Ask which blade and screen specifications can be discussed for your material. Record the agreed references so replacements match the delivered machine.
Temporary photo Feed & Discharge
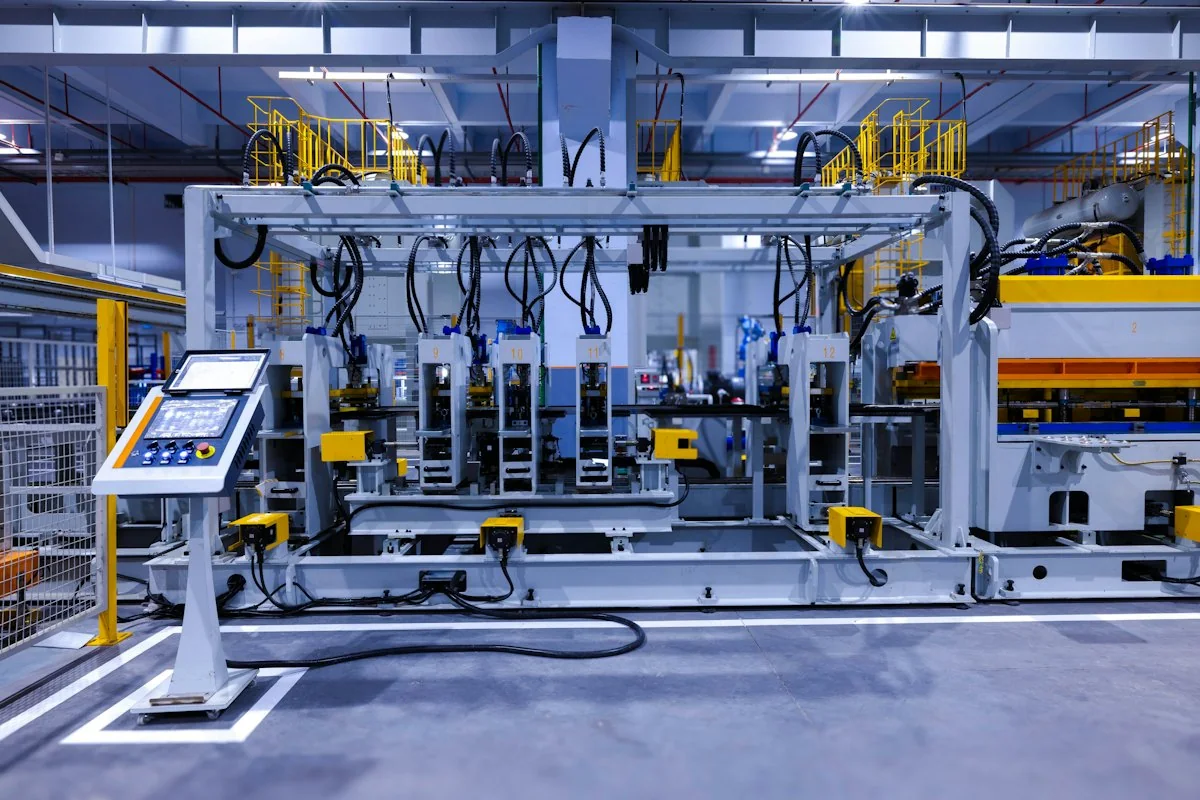
Describe how material will reach the hopper and where the output must go next. Feeding devices and discharge connections should be confirmed as included or optional.
See the Assembly Evidence
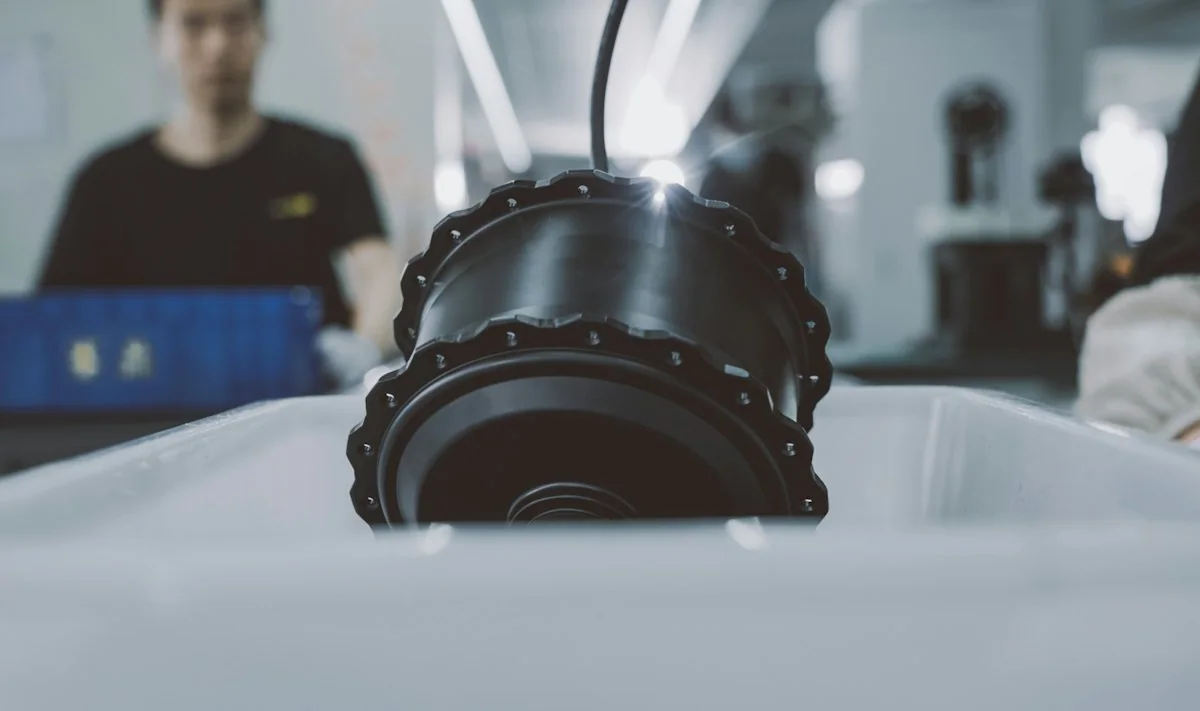
Use real chamber, rotor and assembly photographs to review the proposed machine family. Where inspection records are available, show the item checked and the equipment reference.
Assembly photographs let you compare the build with the configuration being proposed. Look for images where the model reference is visible, and ask for close-ups of the areas that matter most for your feed, such as the rotor and blade seats.
Same Model Family
Check that the photos show the series you are considering, not a different or generic machine.
Rotor and Blade Seats
Look at how blades are mounted on the rotor and how the fixed blades are held in the chamber.
Chamber Construction
Review the chamber walls, openings and access points shown during assembly.


FAQ
Does heavy-duty mean any material can be crushed?
No. Material properties, dimensions, contamination and the required output need to be checked for the selected configuration.
Can the largest pieces go directly into the machine?
That depends on the confirmed feed limits and feeding arrangement. Share dimensions and photos before assuming direct feeding is possible.
Do I need a pre-shredder?
Only when the proposed feed or process requires one. Review the complete material path rather than adding another machine by default.
How should I compare supplier capacity figures?
Ask what material, feed condition and output specification each figure refers to. Figures based on different conditions are not a like-for-like comparison.
Can this be customized for my process?
Yes. Describe the configuration or specification you need, together with the material or machine reference. Feasible options, drawings where required, and the final supply scope are confirmed before production.
Discuss Your Heavy-Duty Feed
Send photographs and dimensions of the actual feed, including wall thickness or solid sections where relevant. Add the working load and required next-stage output.
Include the details you already know. You do not need every specification to start.
What to Include
Use the details you already know. A model number is not required to begin.
1. YOUR MATERIAL
Material name and condition; largest starting dimensions; a photograph when available.
Describe thickness, mixed shapes or other details that affect feeding.
2. YOUR OUTPUT
Required powder, smaller pieces or regrind; the next process; the output specification and its measurement basis when known.
State the desired hourly throughput as a target, not a confirmed machine result.
3. YOUR SITE
Country/region; known power supply; available floor space and height; existing equipment; relevant cooling or nitrogen arrangements.
4. YOUR CONFIGURATION
Standalone machine, replacement machine or connected line.
Describe requested changes to feeding, discharge, cooling, controls, layout or connections.
7. WHAT TO AGREE IN THE PROPOSAL
Selected equipment; standard items; options; items supplied by others; relevant test/acceptance basis; documents; support and delivery responsibilities.
Please do not send unnecessary personal documents, passwords or unrelated confidential files.